Set up Transformations Using CarrierX Portal
You can use the transformations to modify the incoming or outgoing call data so that the applications associated with CarrierX endpoints receive the data from the calls in the format they require.
Refer to our How It Works: Transformations section to learn more about what transformations are, what transformations are available in CarrierX API, what they are used for, and how you can work with them.
CarrierX allows you to apply transformations on the following levels:
- on the account level if you want to apply the transformations to all the calls associated with your account;
- on the endpoint level if you want to apply the transformations to a specific endpoint and avoid them for other endpoints;
- on the trunk group or trunk level if you want to apply the transformations to a specific trunk or trunk group;
- on the phone number level if you want to apply the transformations to a specific DID and leave the rest of the DIDs as they are;
- on the prefix level if you want to apply the transformations to a specific prefix.
In this article, we will create transformations through the portal. First, we will see how to access the transformations on each of the levels. Then, we will learn how to set up transformations on any level as the process is similar for all portal sections.
I. Account Level Transformations
- Register with CarrierX to access the API and CarrierX portal.
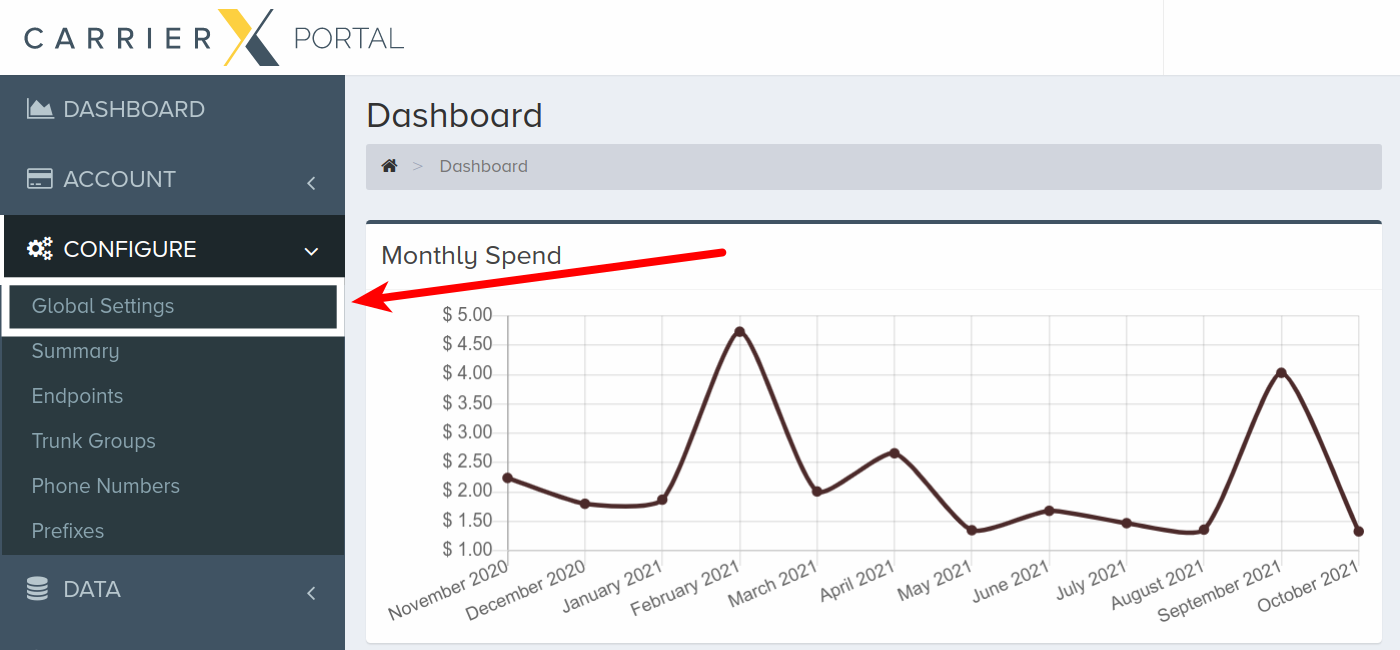
To create transformations on the account level, log into your CarrierX account. On the left-side menu, locate and click the Configure menu. Click Global Settings.
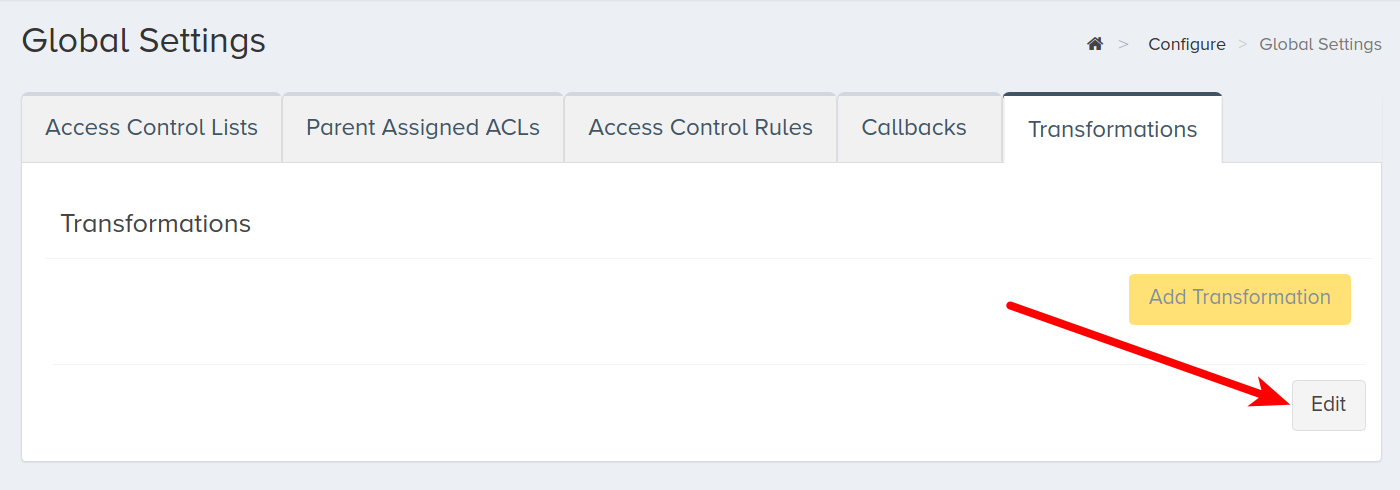
Click the Transformations tab.
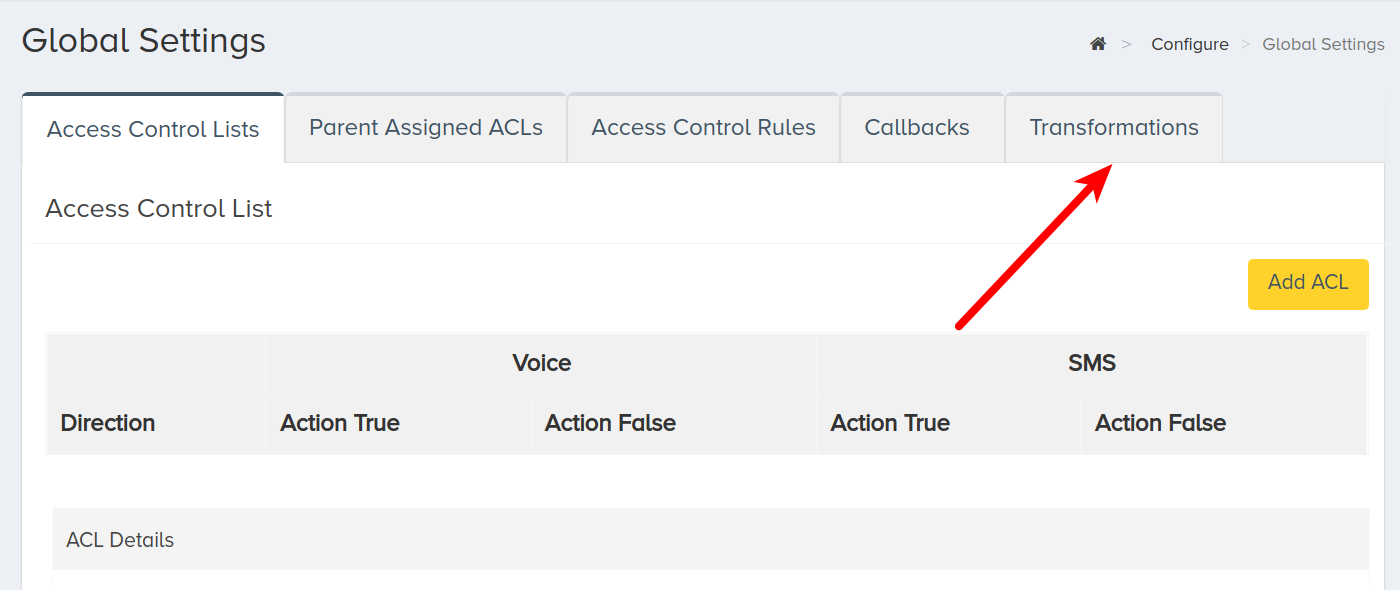
It looks like the following:
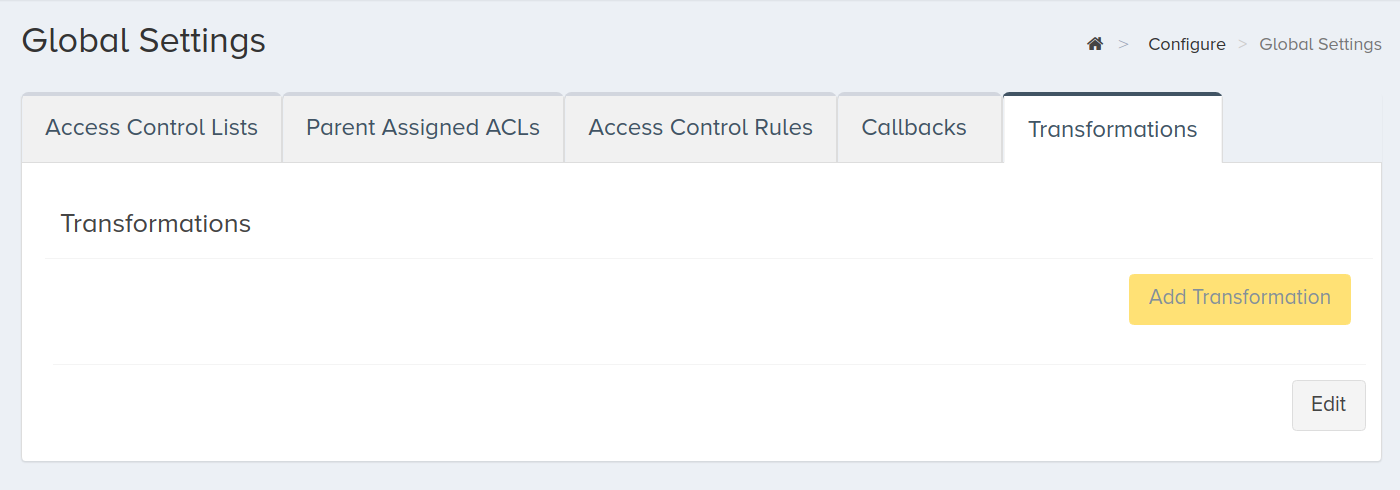
Now follow these steps to add transformations.
II. Endpoint Level Transformations
- Register with CarrierX to access the API and CarrierX portal.
- Create an endpoint to set up transformations for it.
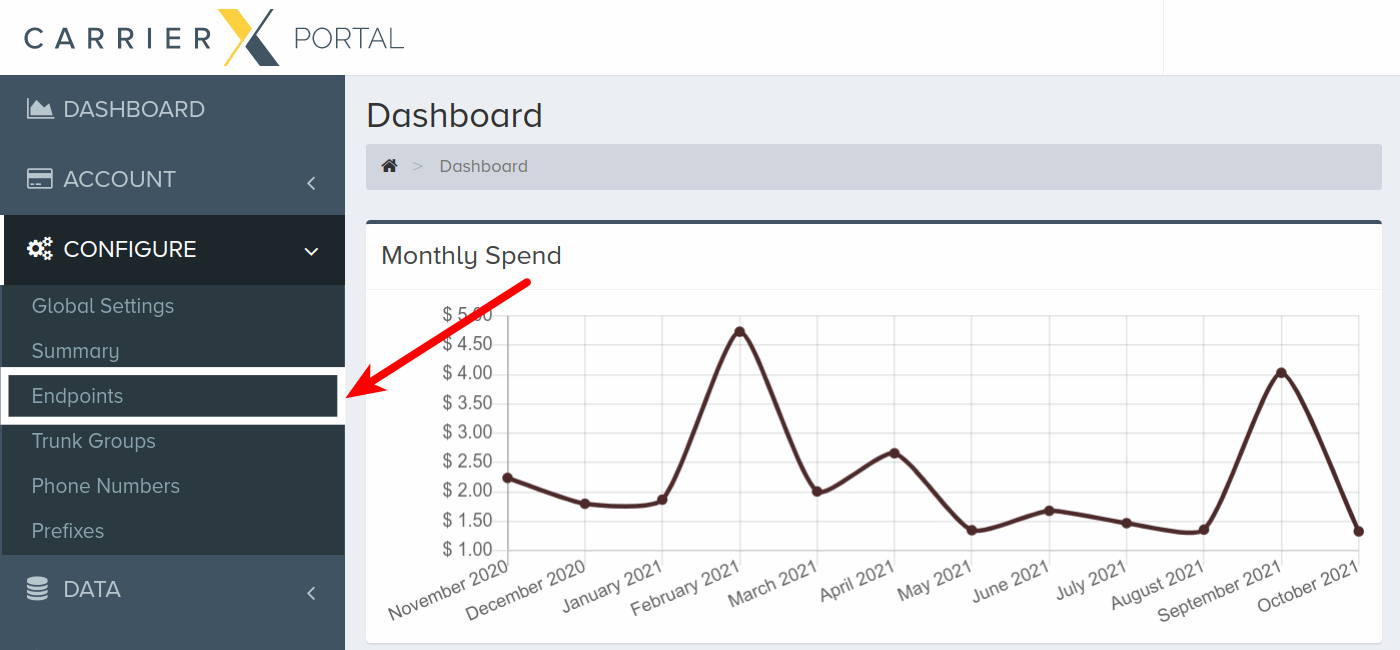
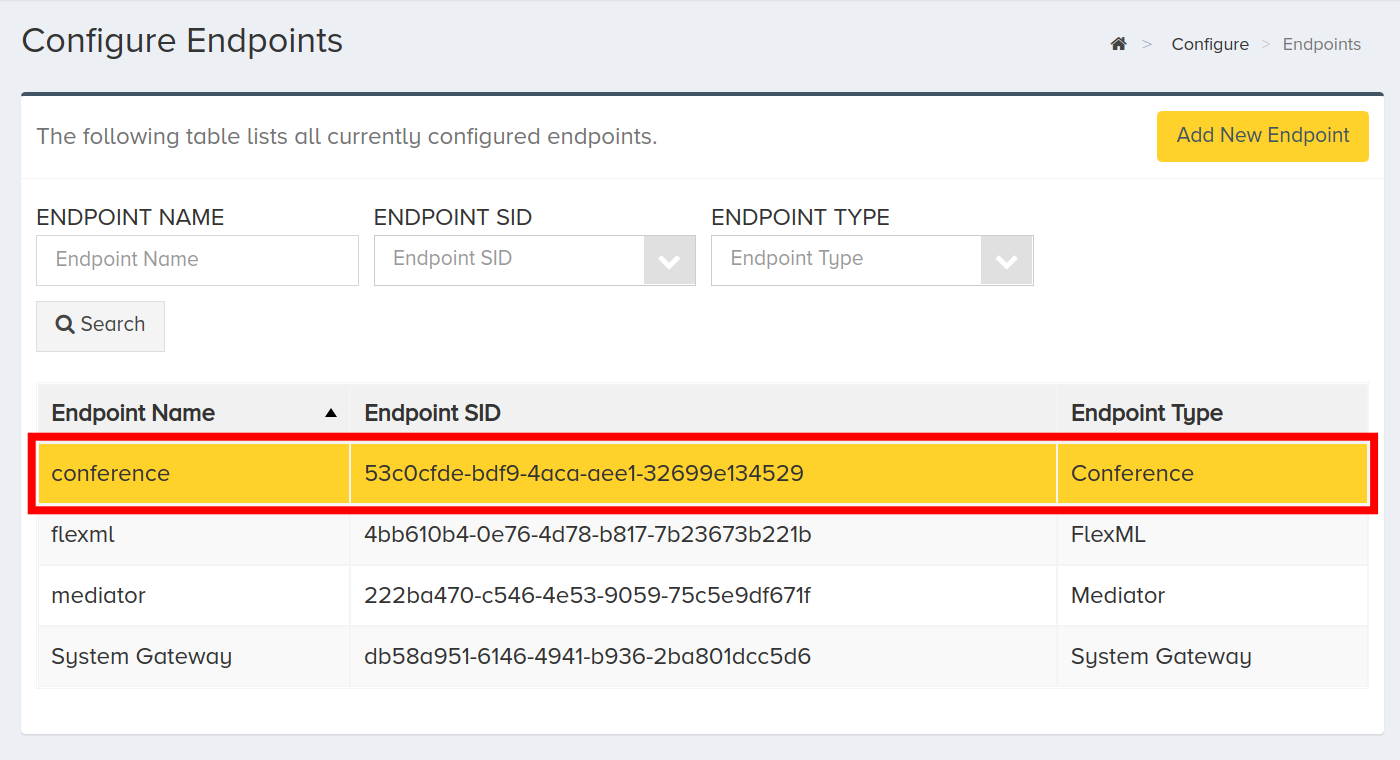
To create transformations on the endpoint level, log into your CarrierX account. On the left-side menu, locate and click the Configure menu. Click Endpoints.
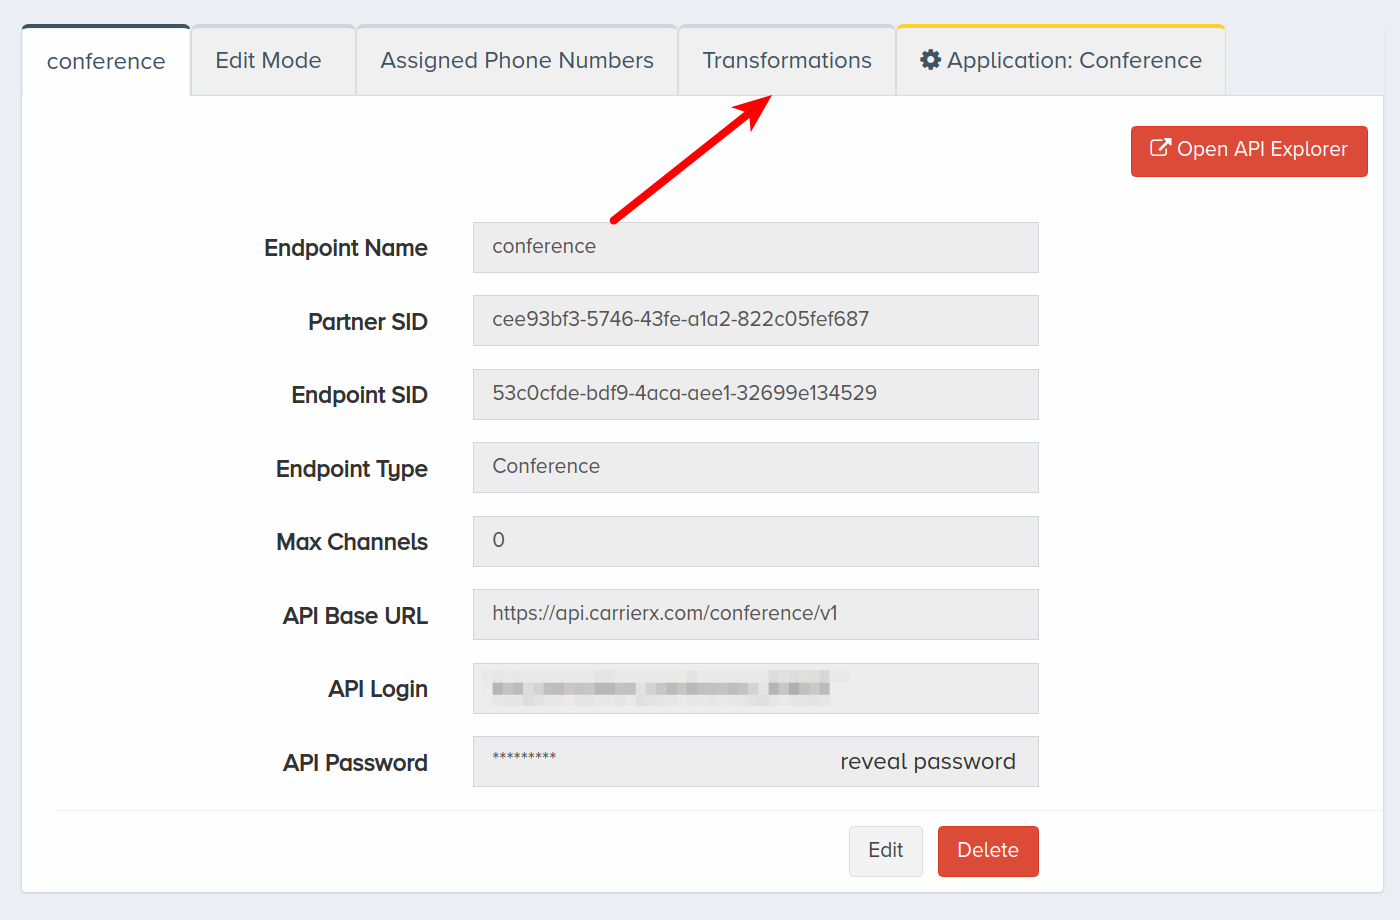
Click the endpoint your want to associate your transformation with.
Click the Transformations tab.
It looks like the following:
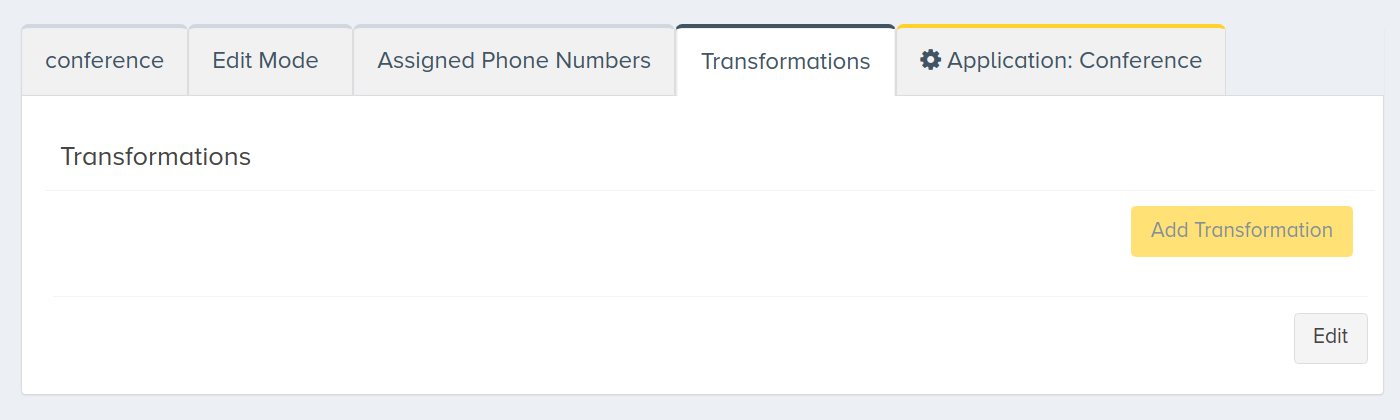
Now follow these steps to add transformations.
III. Trunk Group Level Transformations
- Register with CarrierX to access the API and CarrierX portal.
- Create a trunk group to set up transformations for it.
To create transformations on the trunk group level, log into your CarrierX account. On the left-side menu, locate and click the Configure menu. Click Trunk Groups.

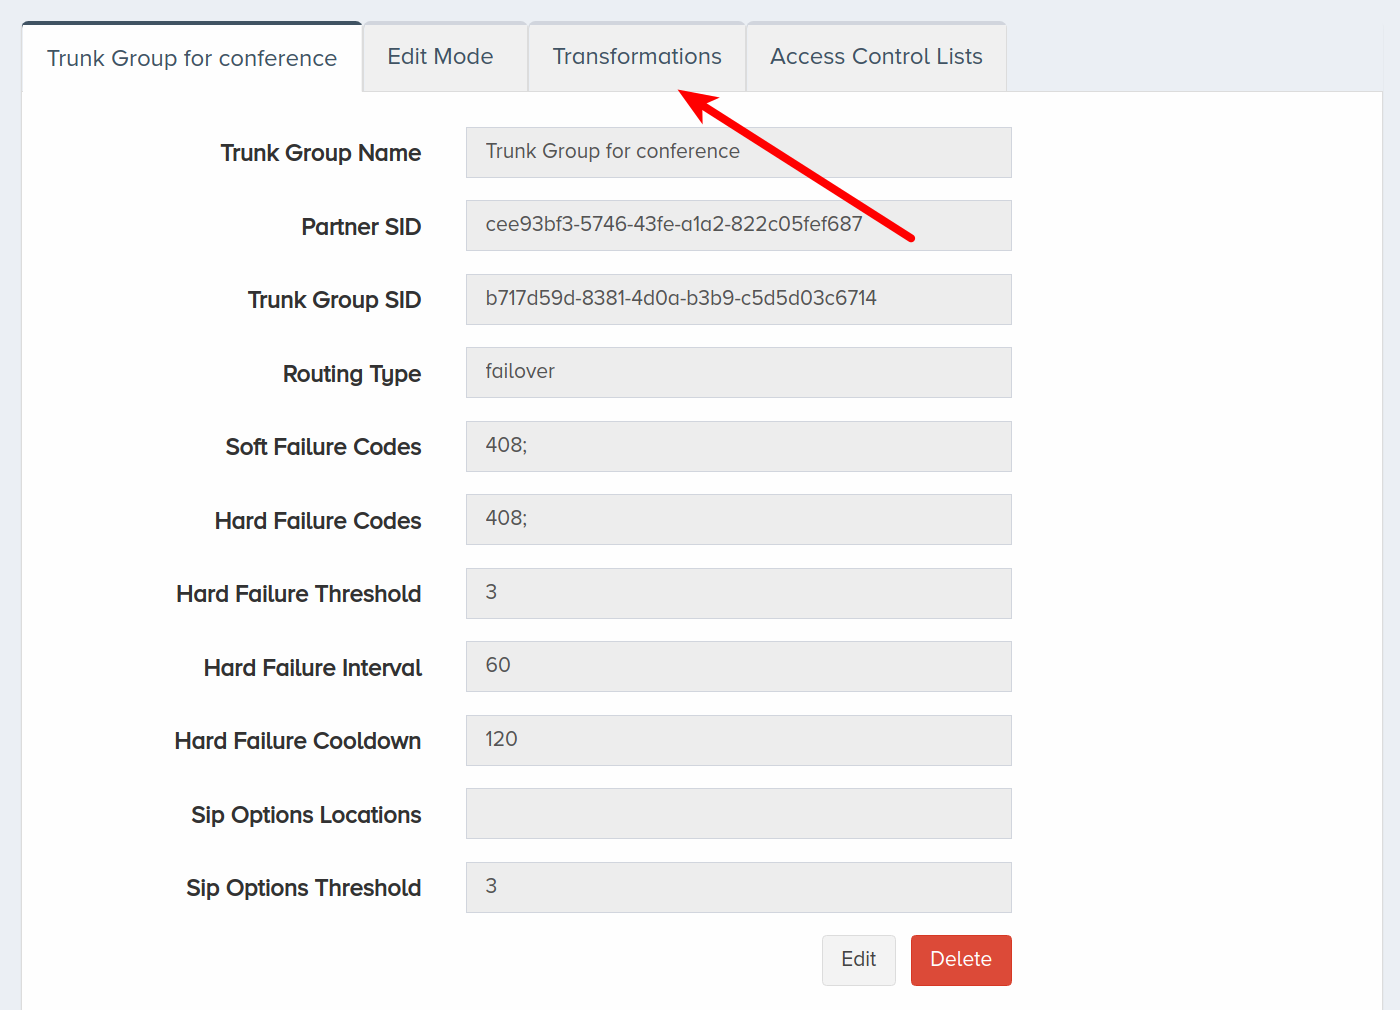
Click the trunk group your want to associate your transformation with.

Click the Transformations tab.
It looks like the following:
Now follow these steps to add transformations.
IV. Phone Number Level Transformations
- Register with CarrierX to access the API and CarrierX portal.
- Rent a phone number from CarrierX to set up transformations for it.
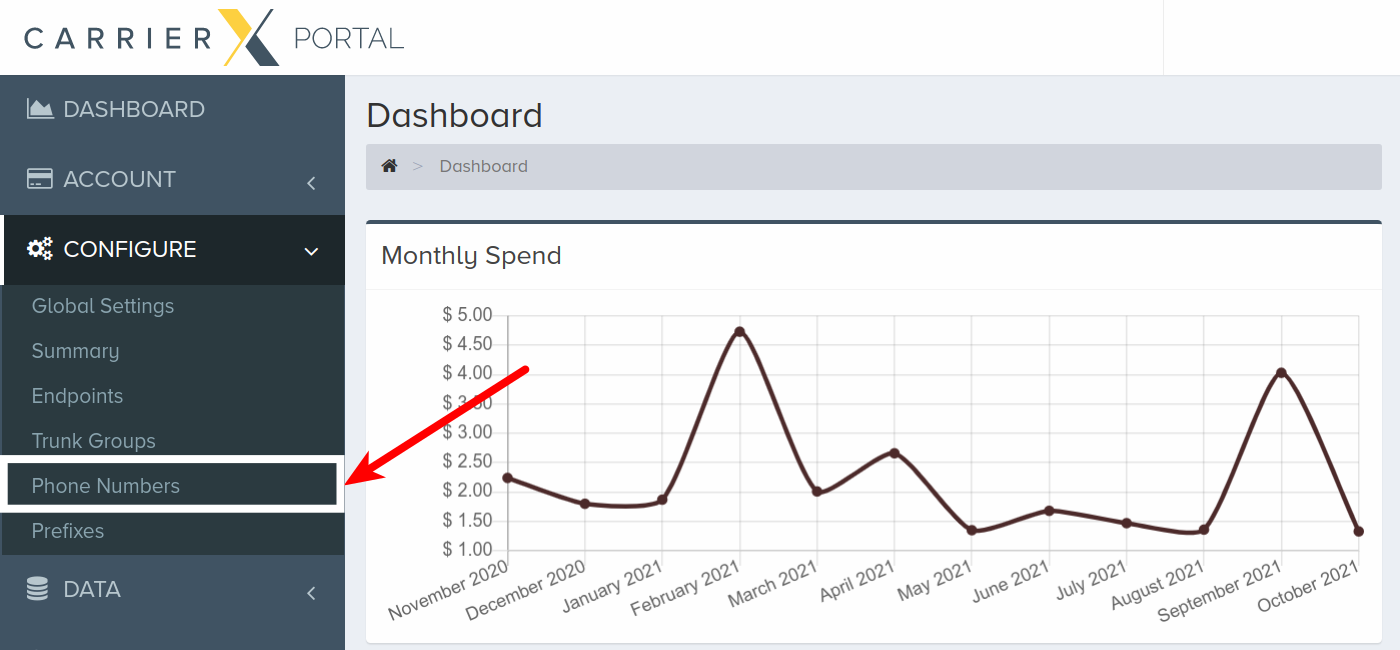
To create transformations on the phone number level, log into your CarrierX account. On the left-side menu, locate and click the Configure menu. Click Phone Numbers.
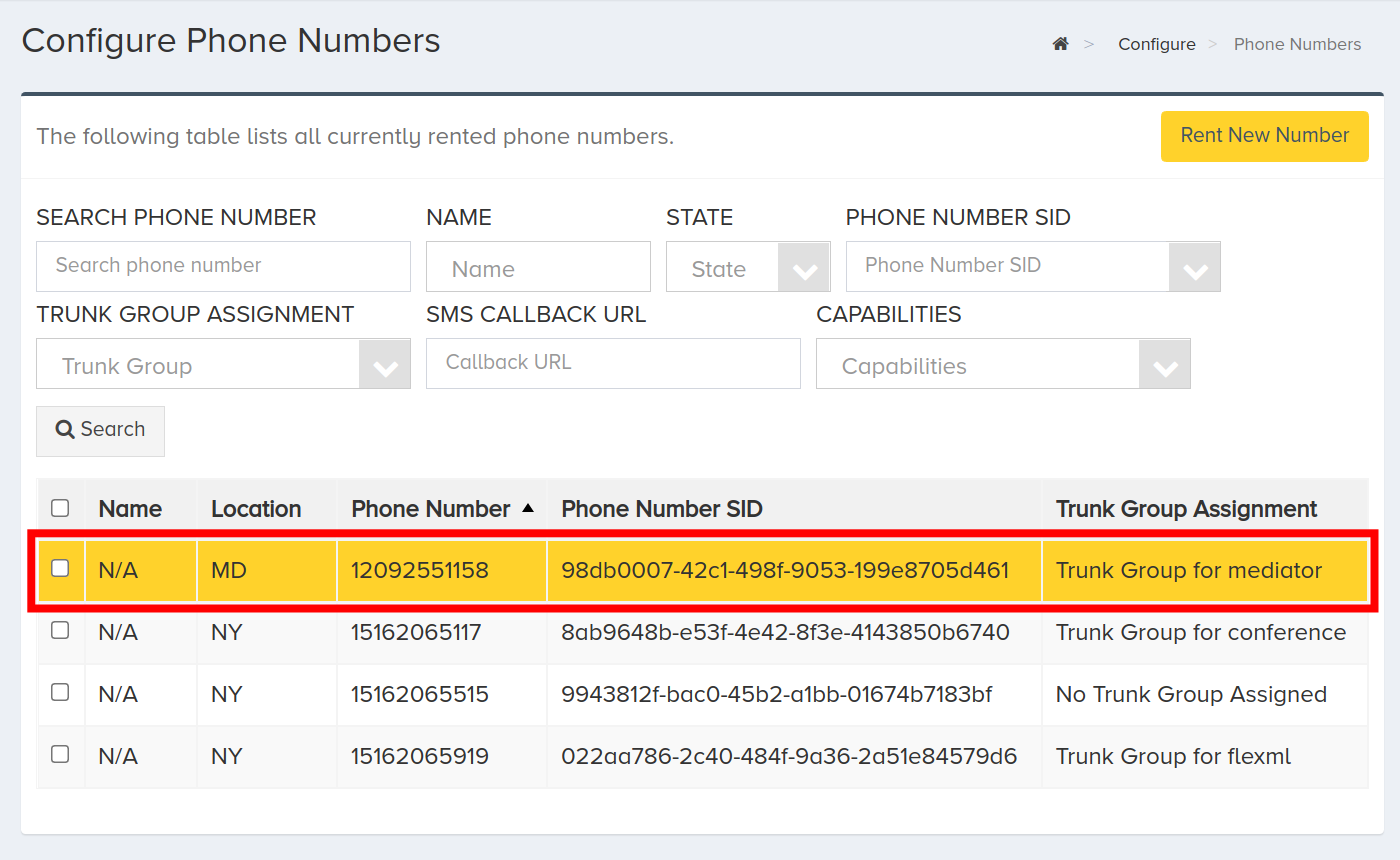
Click the phone number your want to associate your transformation with.
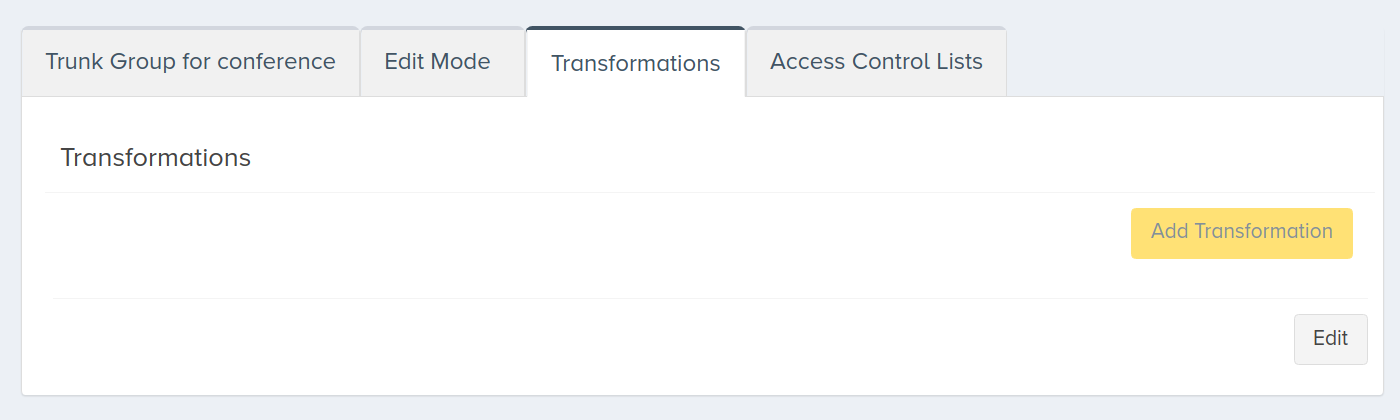
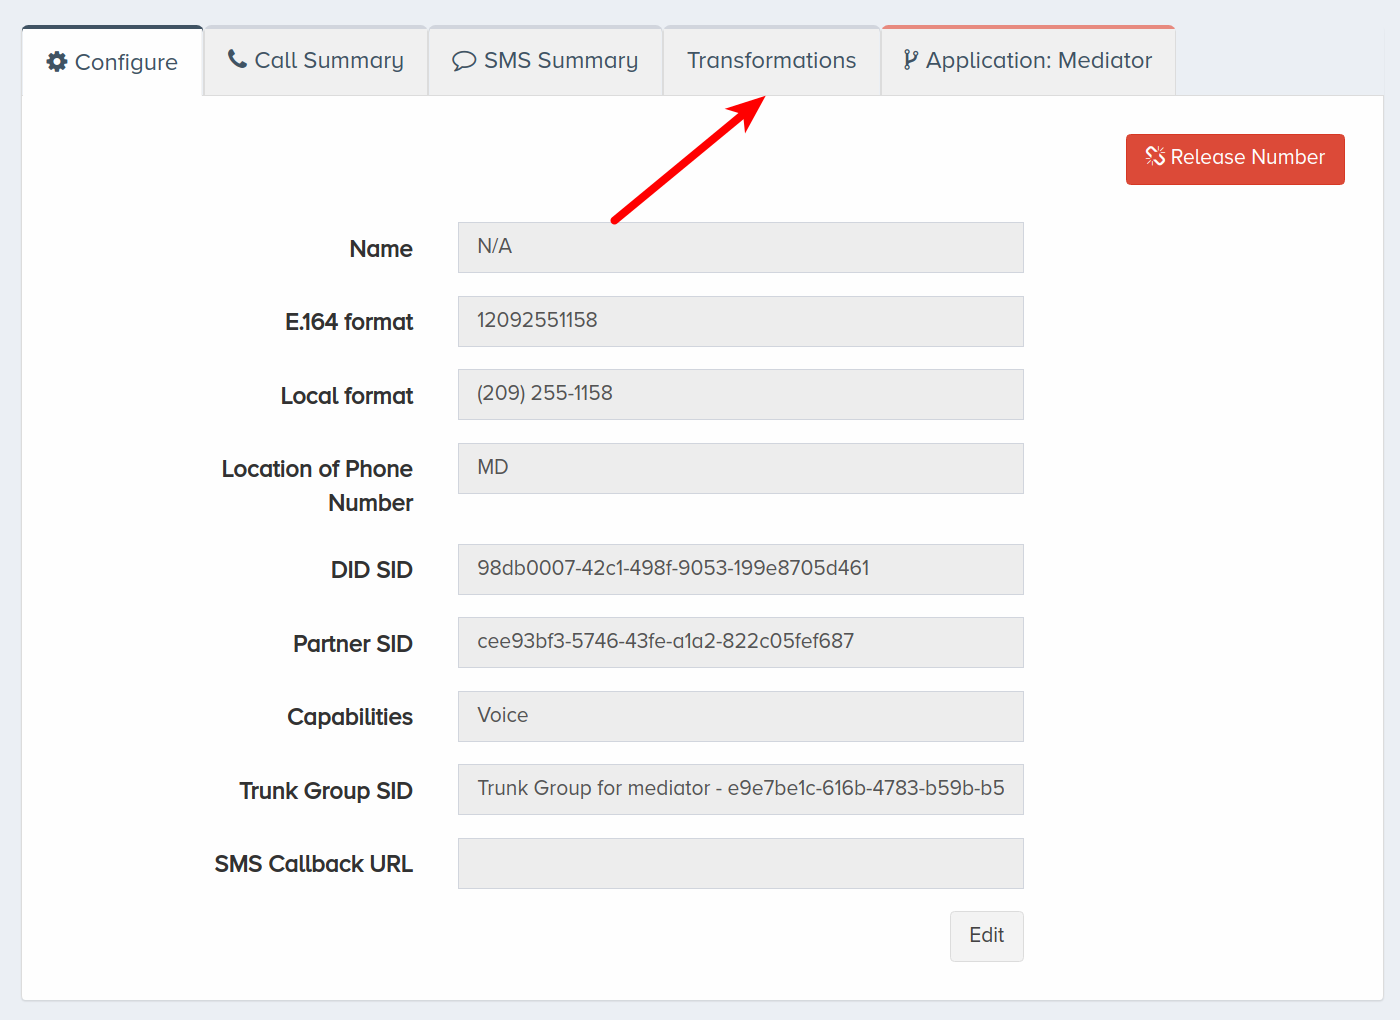
Click the Transformations tab.
It looks like the following:

Now follow these steps to add transformations.
V. Prefix Level Transformations
- Register with CarrierX to access the API and CarrierX portal.
- Create a prefix to set up transformations for it.
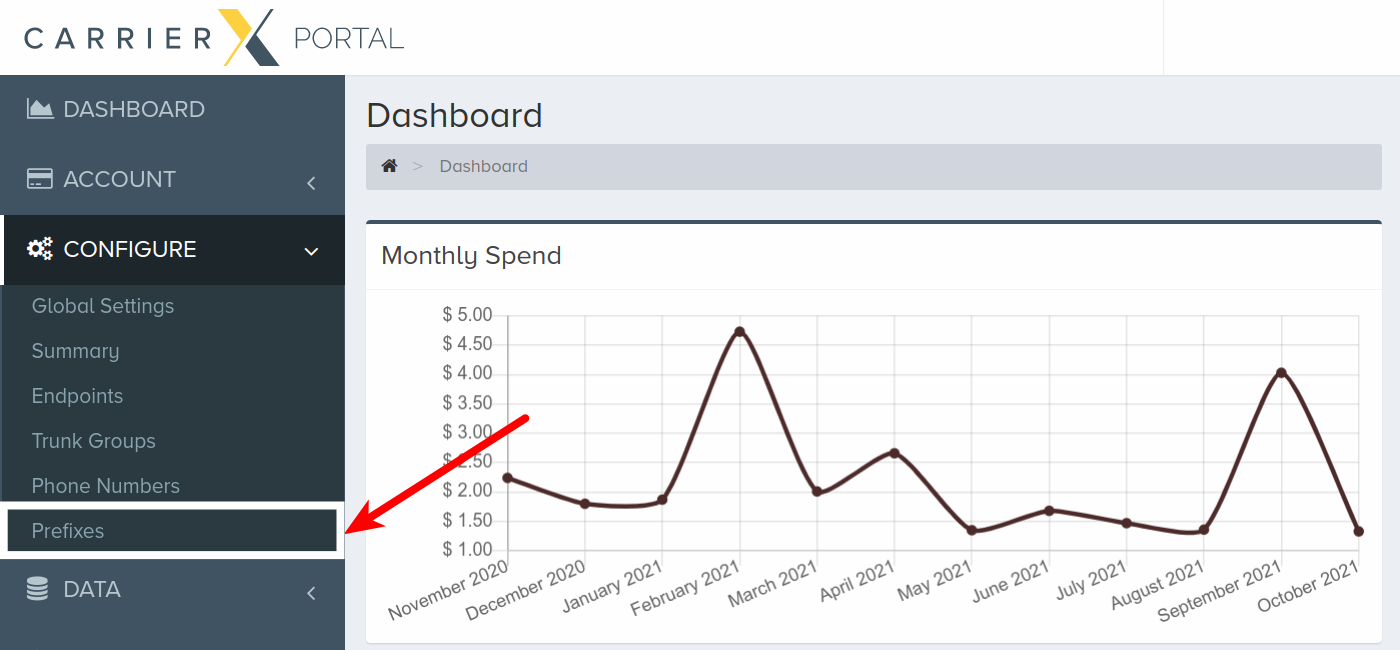
To create transformations on the prefix level, log into your CarrierX account. On the left-side menu, locate and click the Configure menu. Click Prefixes.
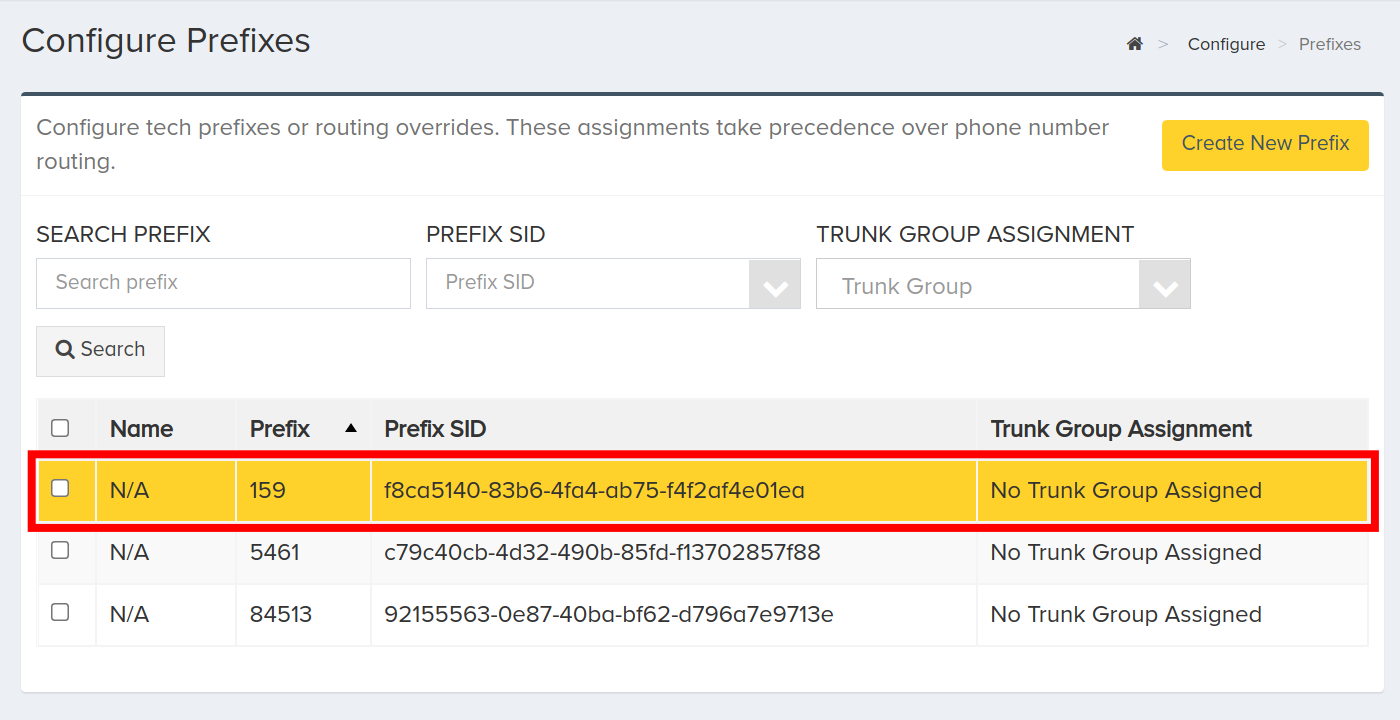
Click the prefix your want to associate your transformation with.
Click the Transformations tab.
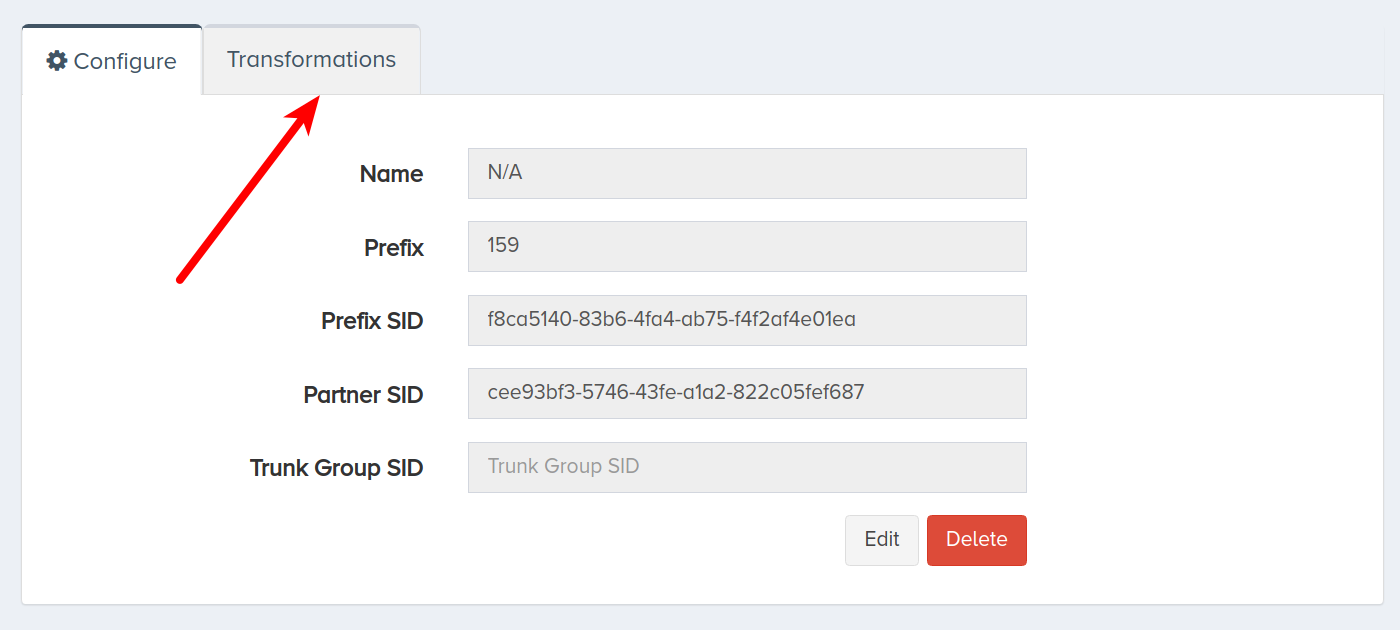
It looks like the following:

Now follow these steps to add transformations.
VI. Set up Transformations
The process of setting up transformations is similar on all the levels. Once you are in the Transformation tab of the portal Global Settings, Endpoints, Trunk Groups, Phone Numbers, or Prefixes, follow the steps below to add and set up transformations.
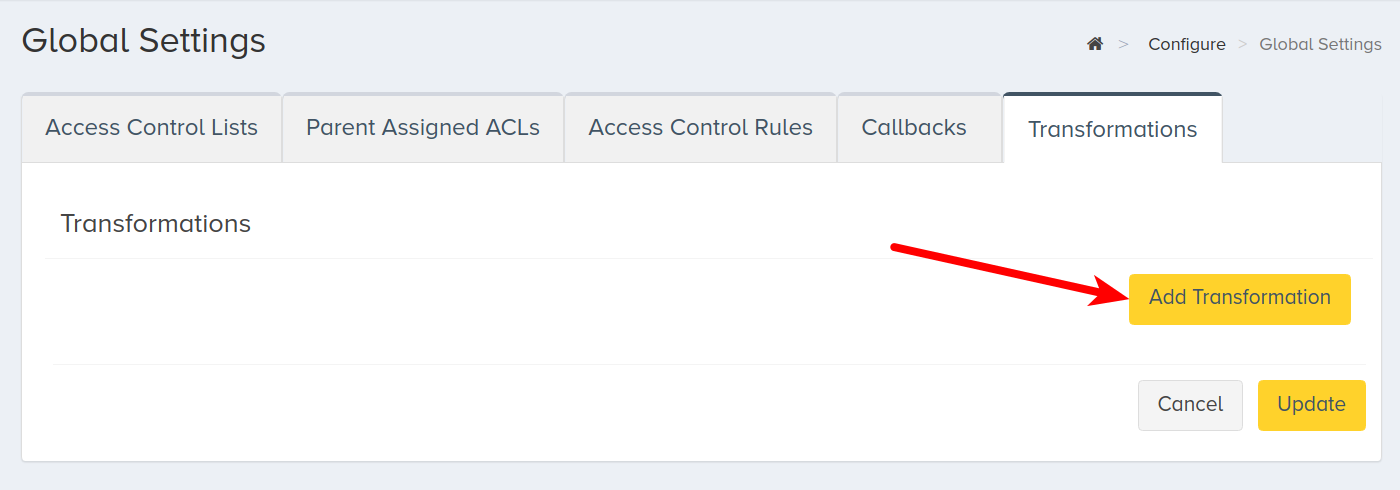
Click Edit.
Then click Add Transformation.
Depending on the call direction (incoming, outgoing, or any), select the Direction.
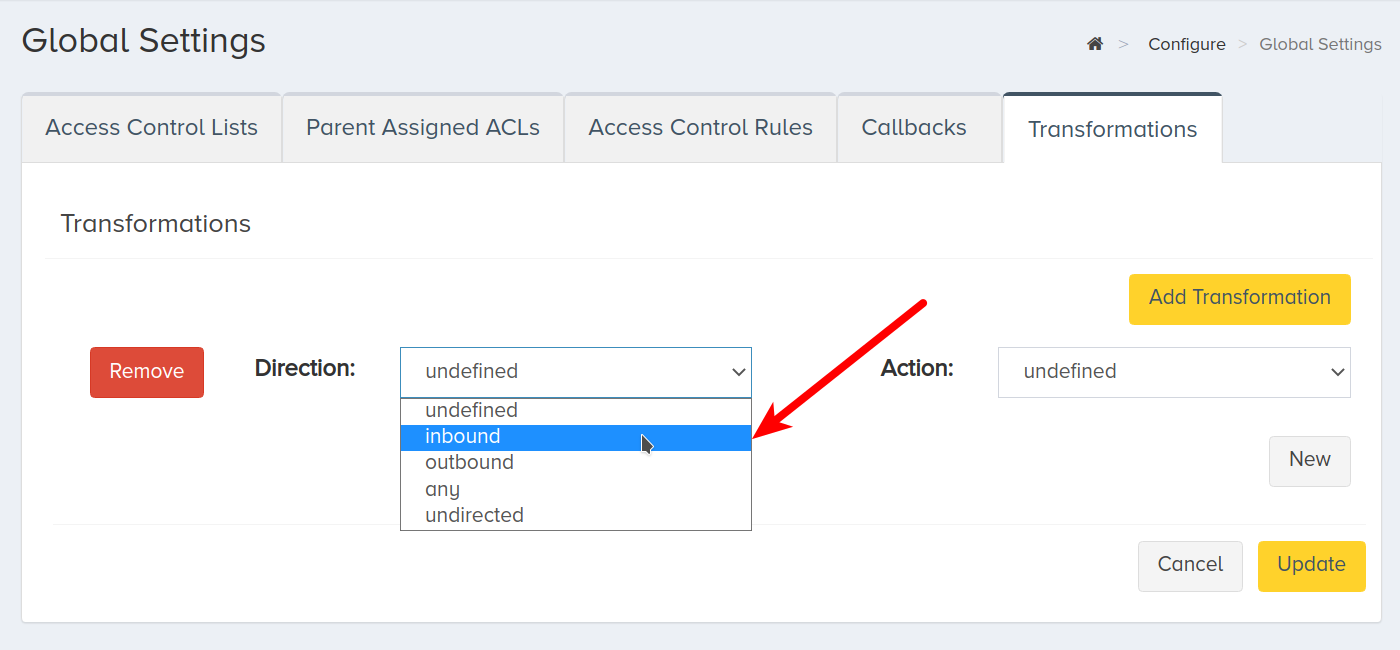
Then select the transformation Action from the drop-down list.

Refer to the Transformations Format section of our How It Works: Transformations article about the transformation structure.
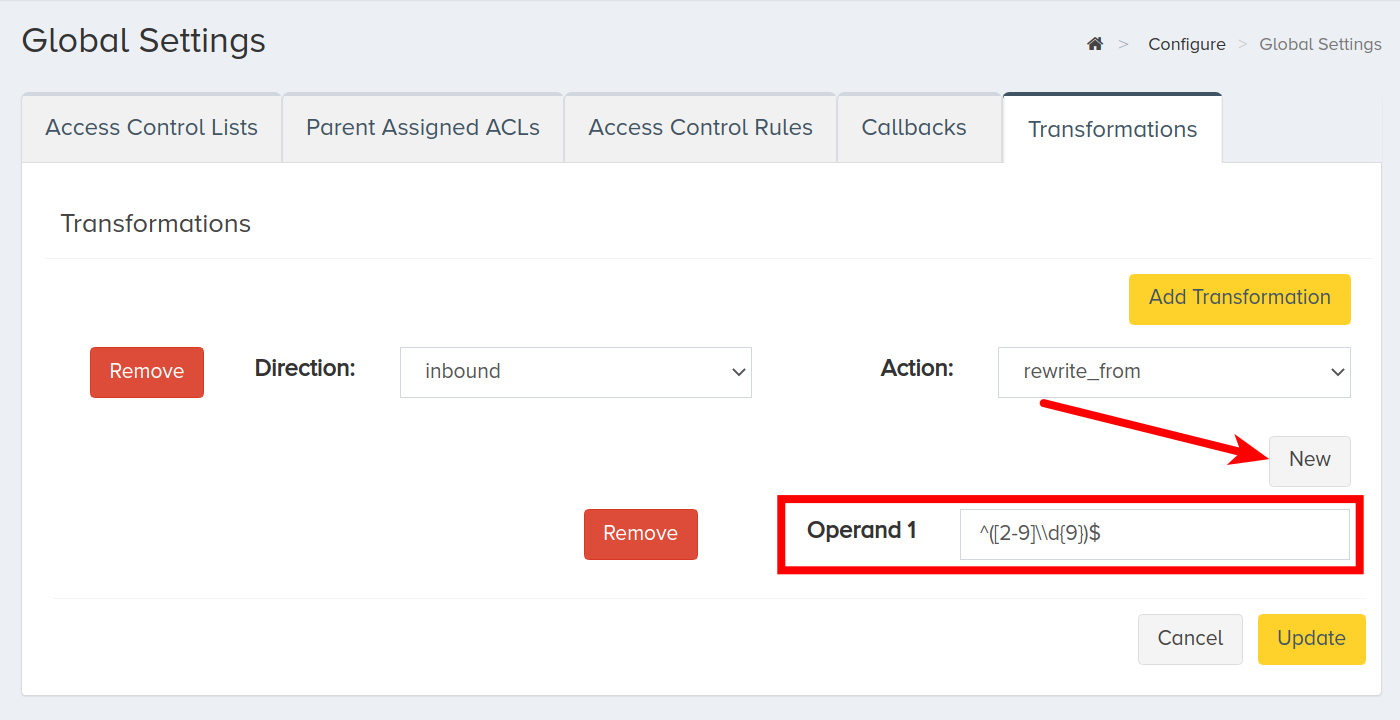
After that start adding the operands: click New and enter the operand name into the Operand field.
For example, you want all the received calls to have exactly 11 digits with 1 as the first digit (the E.164 format for the US and Canada phone numbers). But the call information might lack this first digit, and you will need to modify the data checking it and adding 1 if it is missing. For this, you need to make sure that the phone number does not already start with 1 (i.e., it starts with any other digit from 2 to 9), has ten digits in it, and, if that is true, add 1 to the beginning of it.
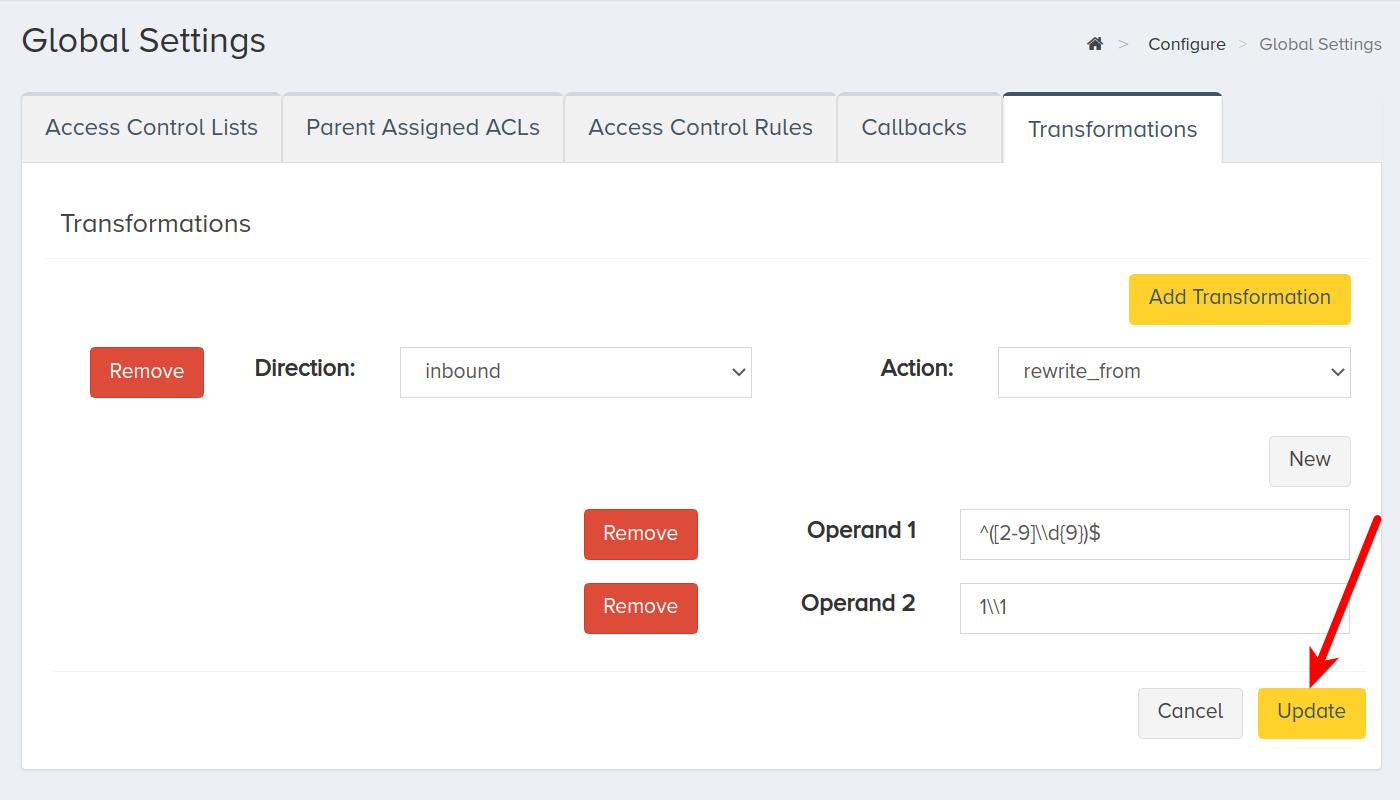
The same way you can add all other operands which the selected transformation require.

Each transformation has its own set of operands depending on the action. Refer to our Transformations section of the Core API reference or the Transformations and Their Examples Explained section of our How It Works: Transformations article to see the complete list of the available transformations together with their actions and operands explained.
After you added all the operands, click Update to save your modifications.
VII. Next Steps
You have successfully created transformations and associated them with your account, endpoints, trunk groups, phone numbers, or prefixes.
Now you can try and call the rented DIDs to test if the transformations you set up work as expected.
For example, the From header might initially look like this:
From: "John Smith" <sip:5162065613@12.7.193.174>;tag=as062a2e2a
After the transformation you apply at the last step, the From header should look the following way:
From: "John Smith" <sip:15162065613@12.7.193.174>;tag=as062a2e2a