Configure Conference v1 Endpoint (Legacy)
Before creating a Conference endpoint, you need to have:
- A CarrierX account. If you don't have one, sign up.
- A rented phone number. If you don't have one, rent a phone number.
In this guide, you will learn how to configure a Conference v1 endpoint. The Conference endpoint is used to make meetings rooms, where two or more people can speak to each other. These meeting rooms have customizable access codes and can be reused.
Please note that CarrierX discontinued the support for Conference v1 endpoint API as it is in the process of being replaced with the new one.
Refer to the new Configure Conference v2 Endpoint quick start guide for the most up-to-date information.
Contact CarrierX support at support@carrierx.com if you need help with migration from the v1 API to the current Conference v2 API.
Refer to our How It Works: Endpoints section to learn more about what endpoints are, what endpoints are available in CarrierX API, what they are used for, and how you can work with them.
I. Create v1 Endpoint
In this section, we will go over creating a Conference v1 endpoint through the portal. Then we will associate a phone number with that endpoint.
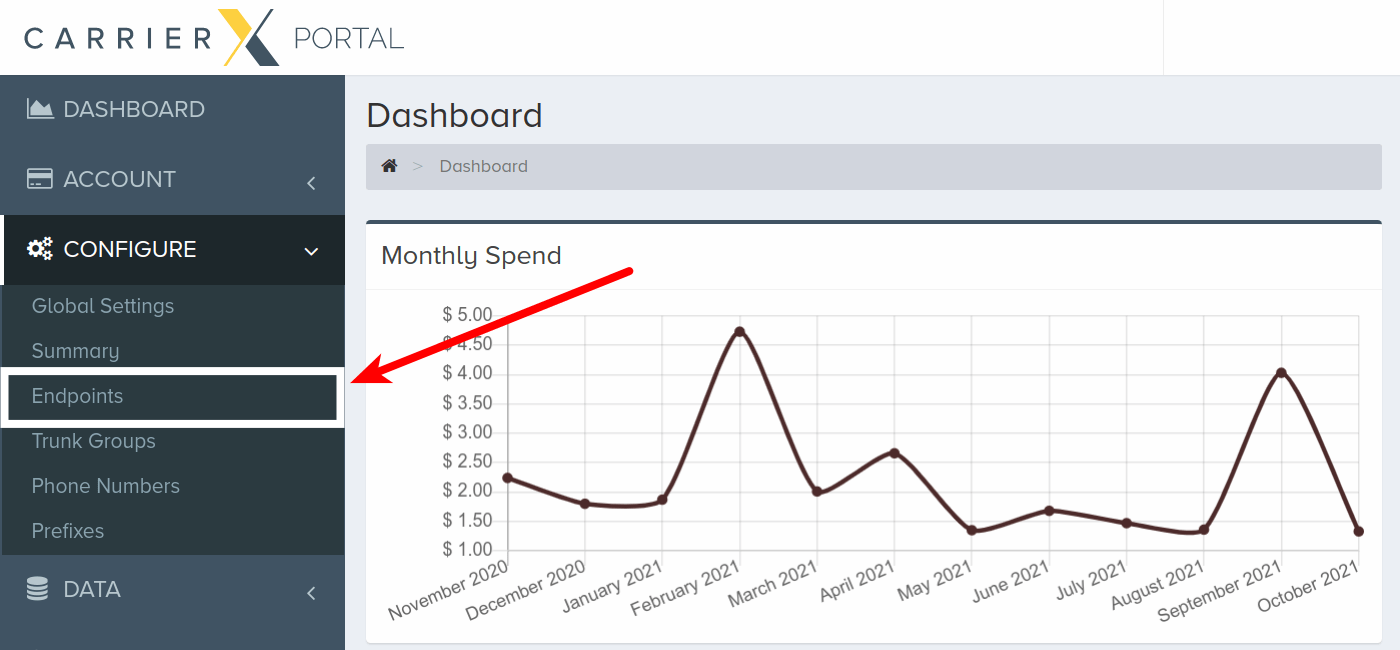
To set up a Conference v1 endpoint, log into your CarrierX account. On the left-side menu, locate and click the Configure menu. Click Endpoints.
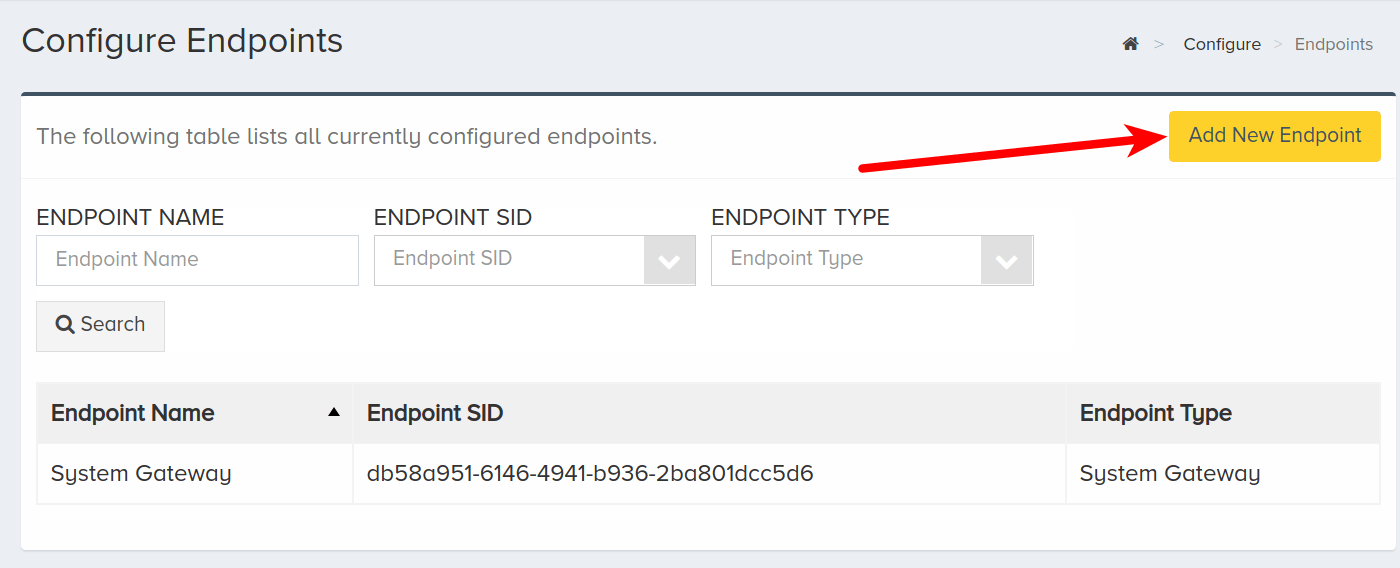
Click Add New Endpoint.
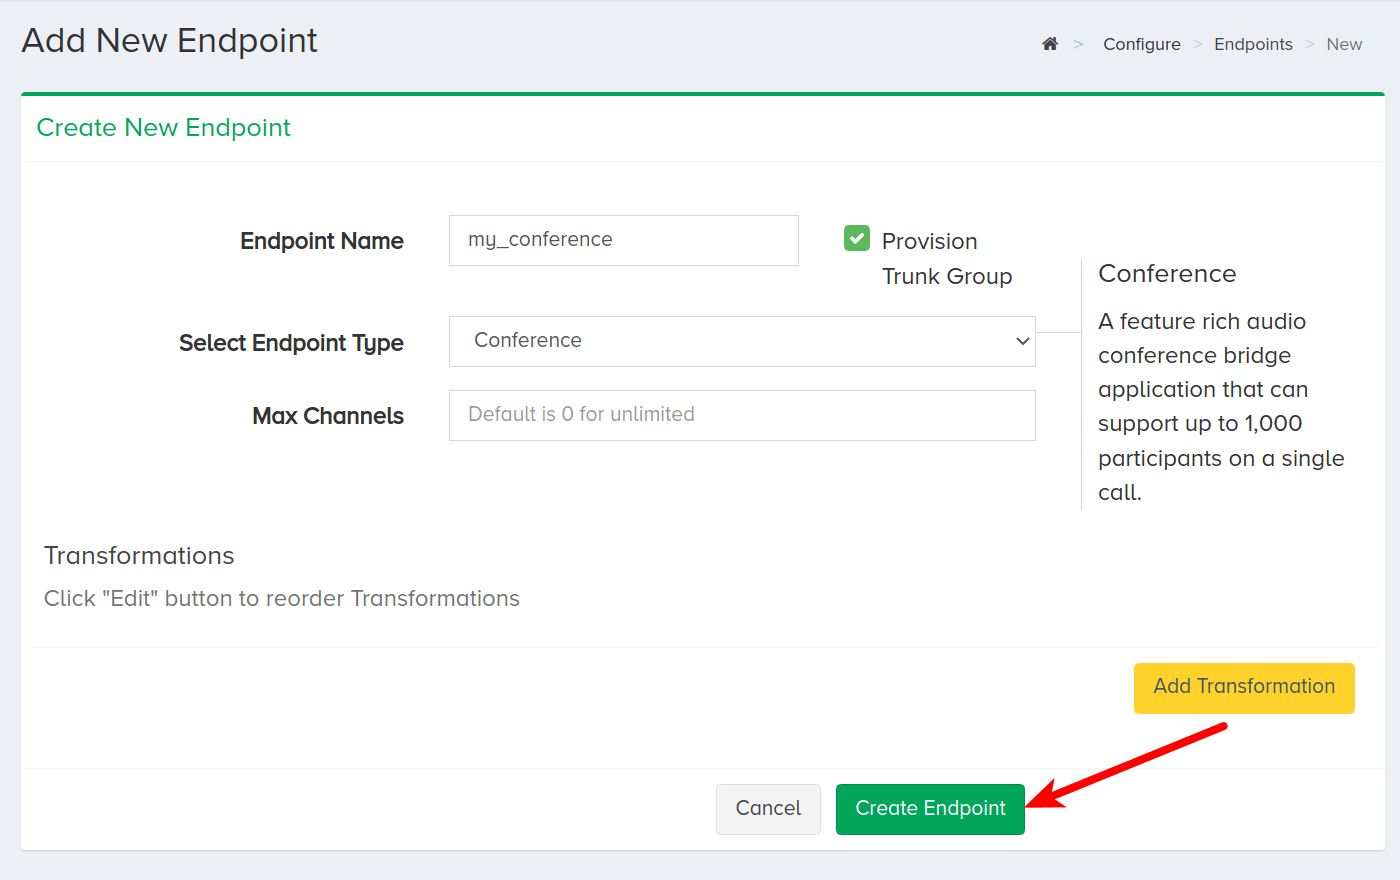
Enter a name for the new endpoint. This is a friendly name that is used for internal reference.
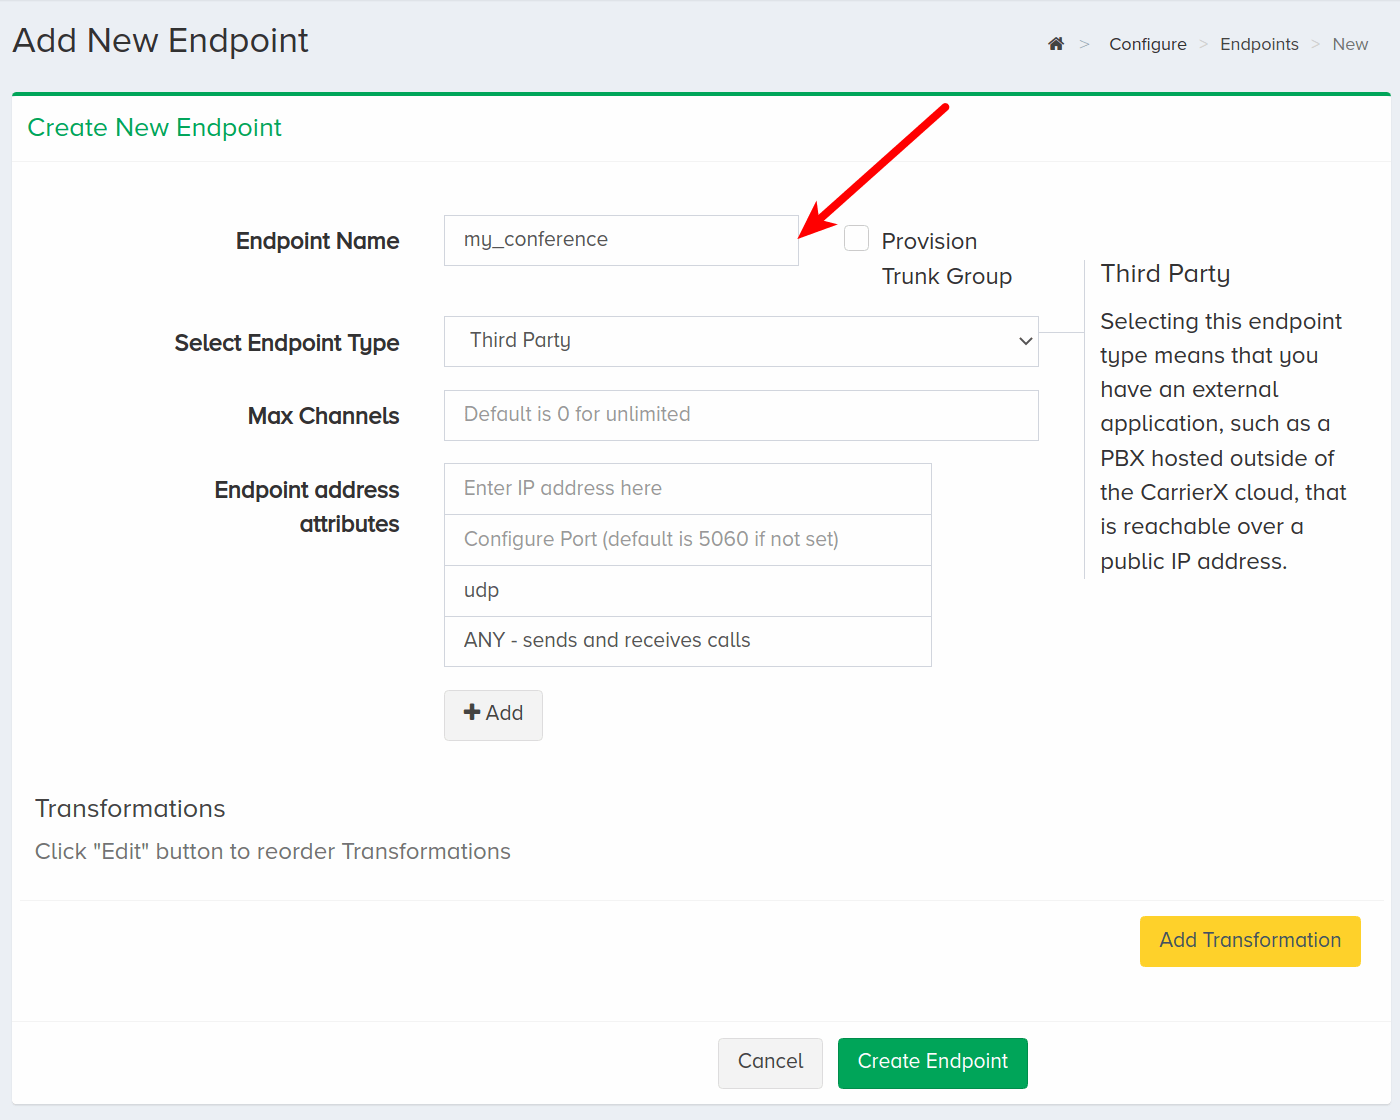
Check Provision Trunk Group to create a trunk group alongside the endpoint. A trunk group determines where a call should be routed. Trunks route calls to the appropriate endpoint by identifying the DID, or phone number, dialed and matching it to the trunk group that the DID is assigned to.
This guide includes instructions on assigning a DID to a trunk group. For more information about trunk groups and how to manage them programmatically, please refer to the Core API Reference.
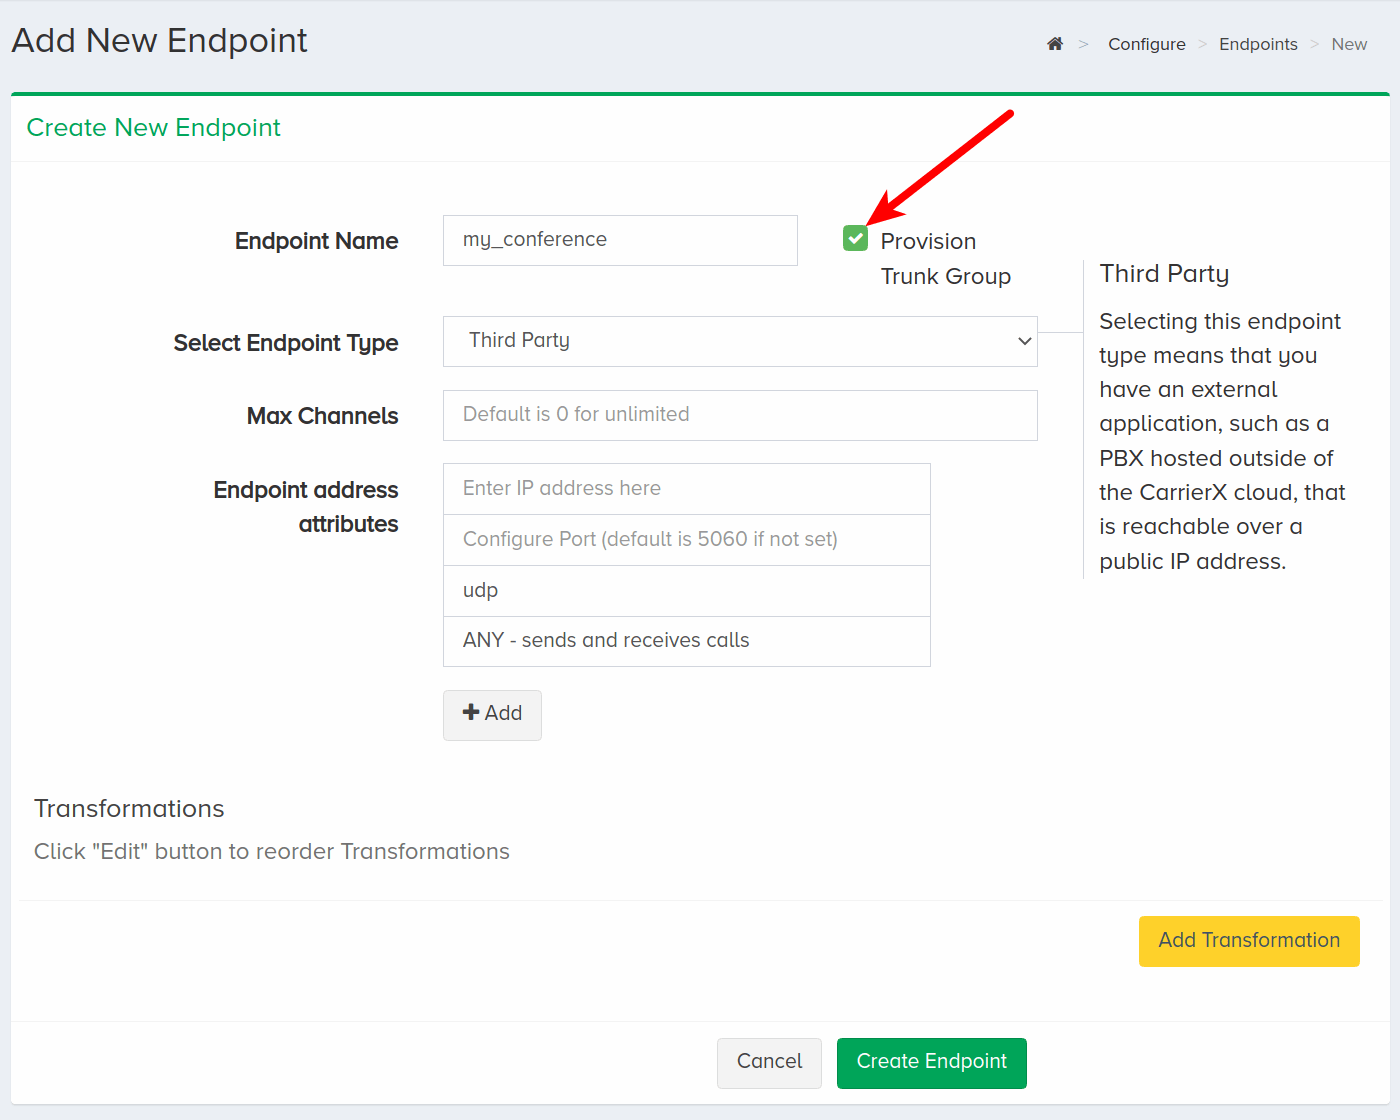
Choose Conference from the Select Endpoint Type dropdown menu.
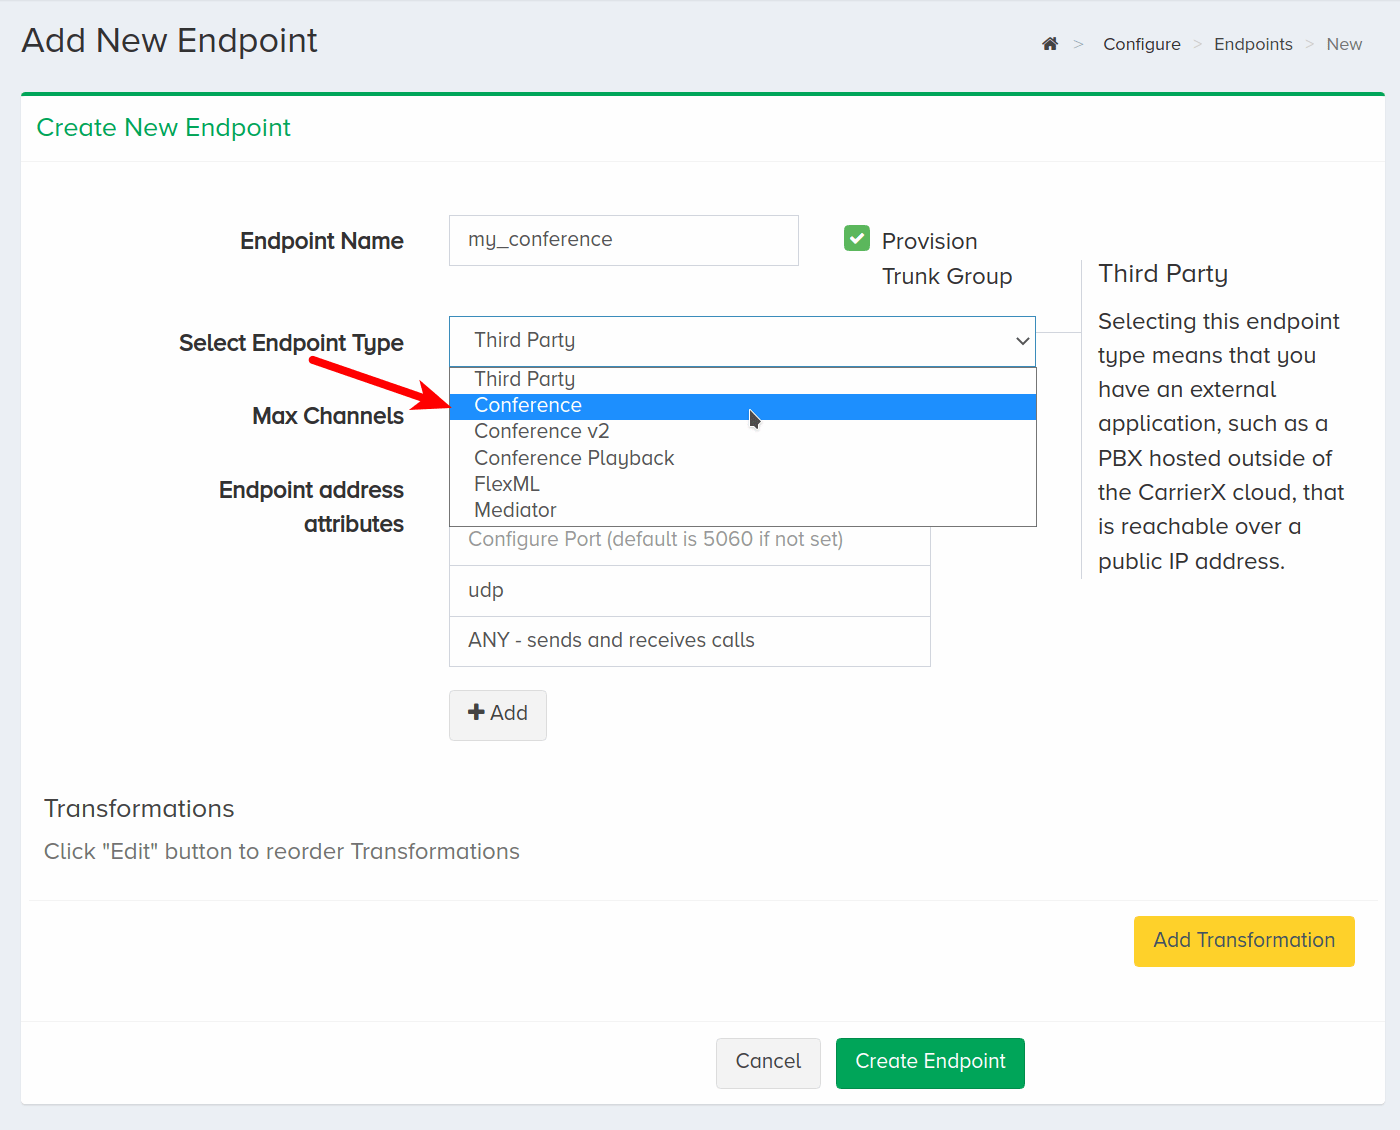
Click Create Endpoint.
II. Assign Phone Number
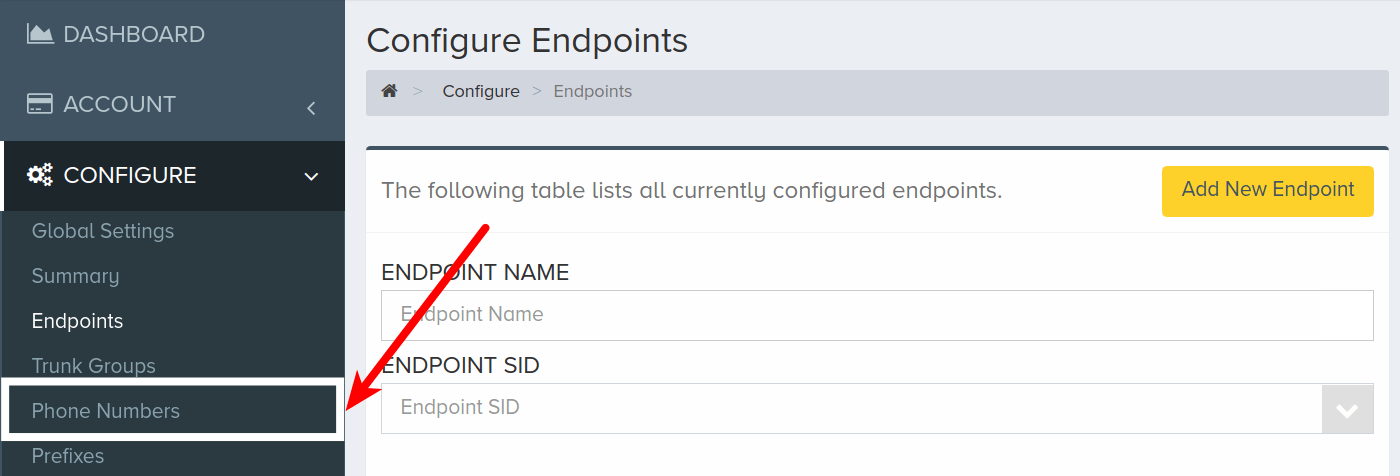
To assign a phone number to the new trunk group created alongside the Conference endpoint, navigate back to the Configure menu and click Phone Numbers. This phone number will be associated with this endpoint only, but multiple phone numbers can be associated with the same endpoint. Participants can dial any phone number associated with an endpoint.
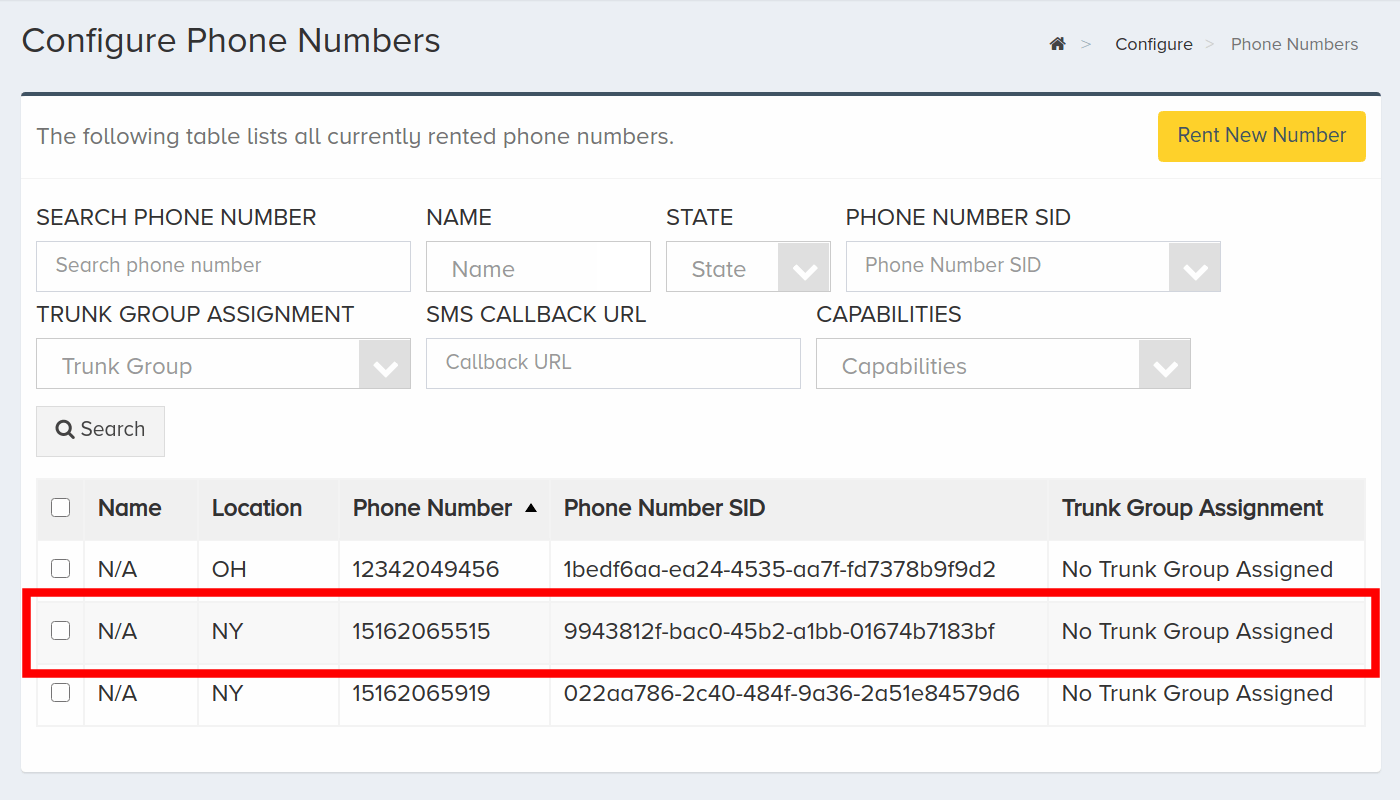
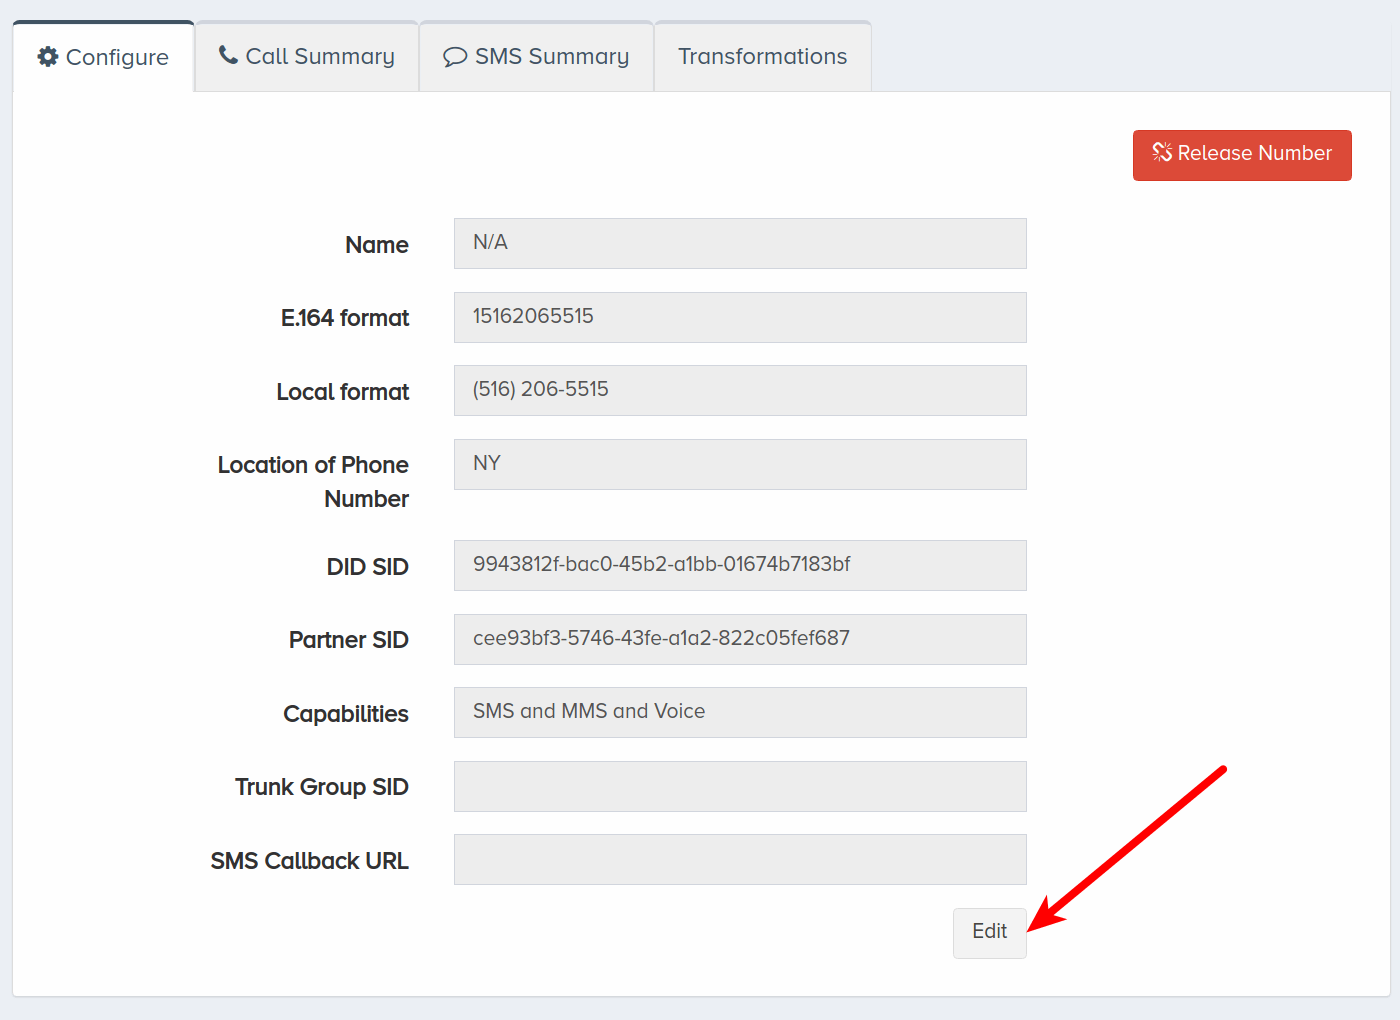
Click a phone number that you would like to associate with the endpoint trunk group. In this example, we are selecting a phone number with no trunk group assigned to it already. You can select a phone number with an assigned trunk group and reassign it.
Once an available phone number is selected, scroll down and click Edit.
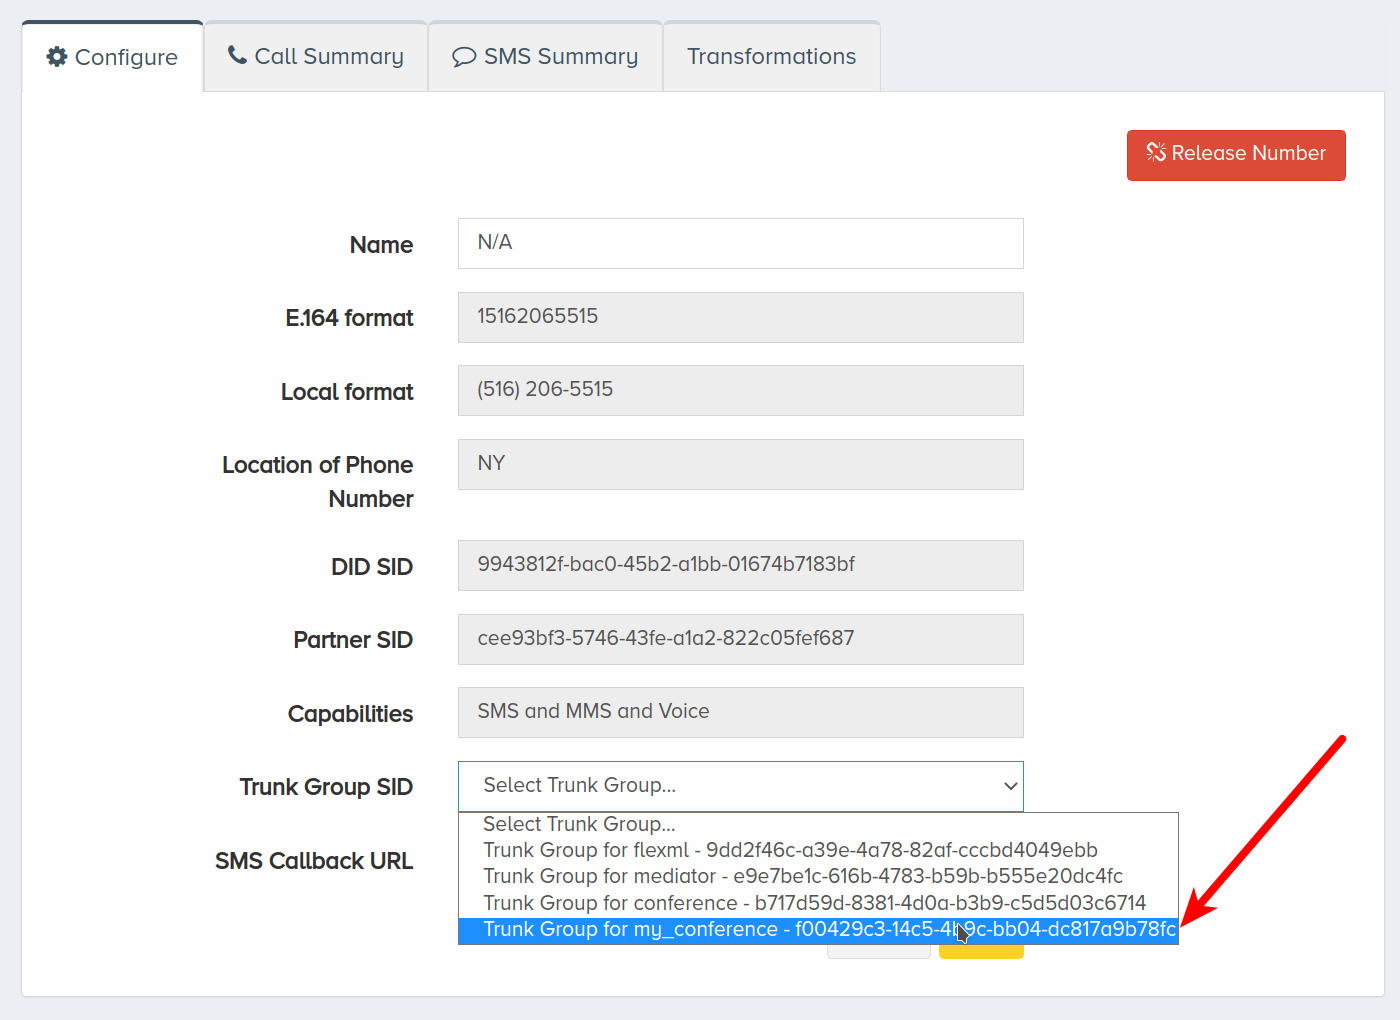
Select the trunk group of the newly-created endpoint from the dropdown list.
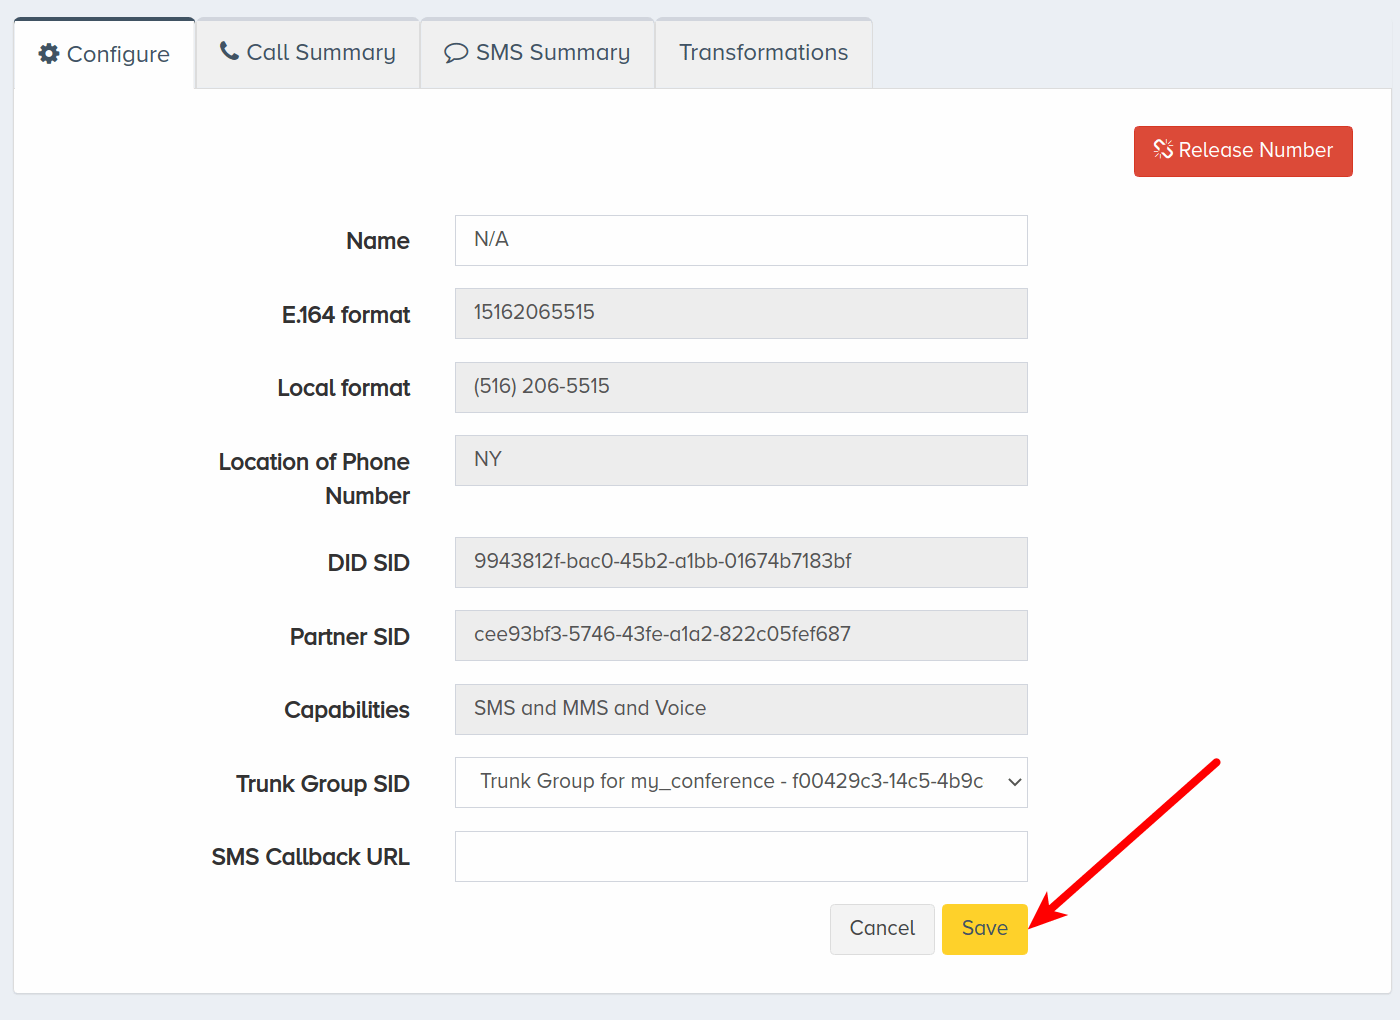
Click Save.
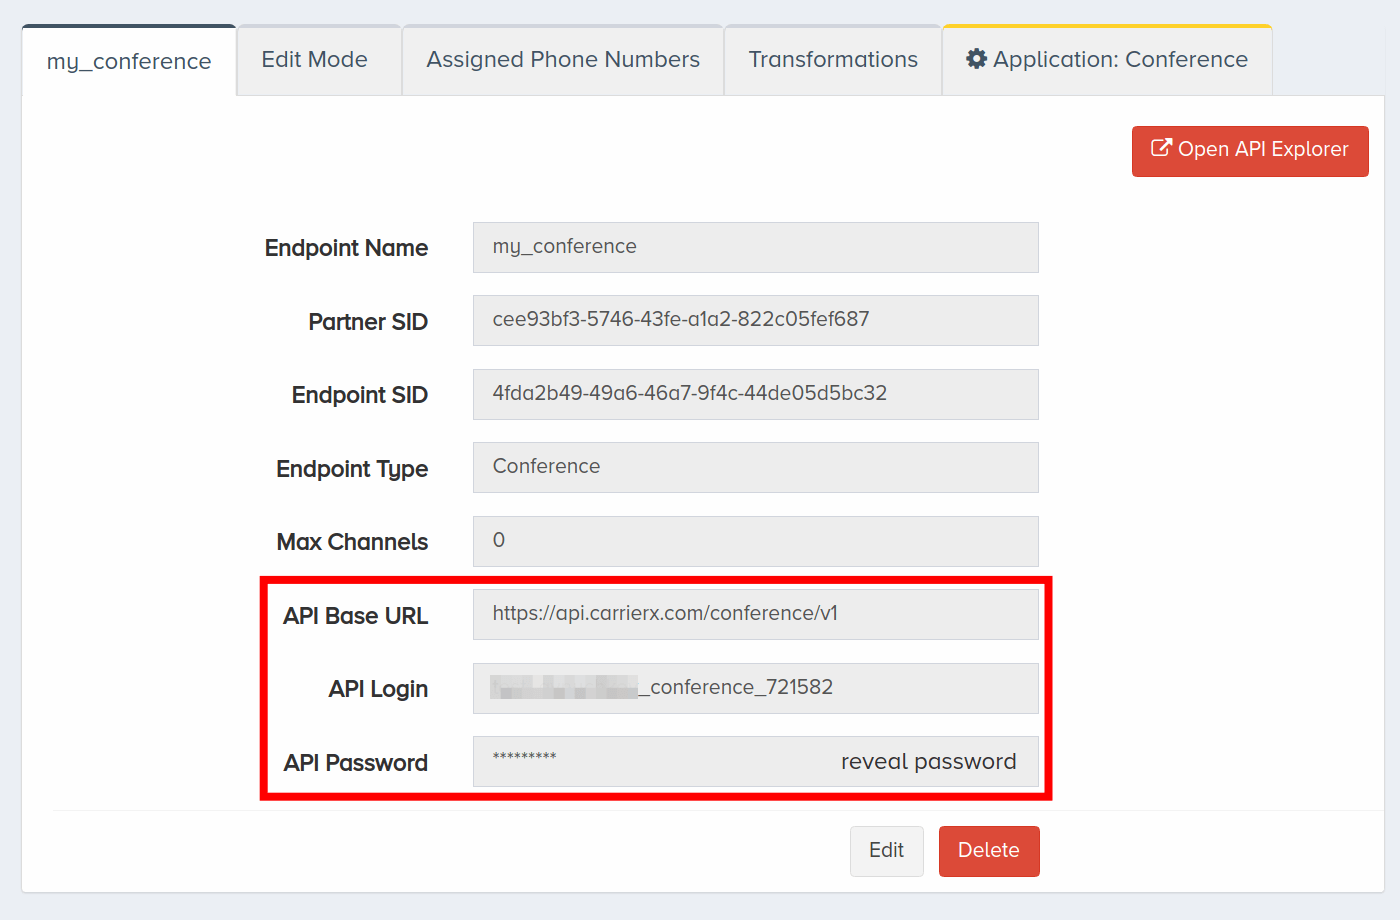
Navigate back to Endpoints under the Configure menu to locate API credentials that can be used to programmatically communicate with the API. Select the newly-created endpoint and scroll down to see the API Base URL, API Login, and API Password.
Now we have set up a Conference endpoint and associated a phone number with it. We will move on to configuring a meeting room.
III. Configure Meeting Room
In this section, we will configure a meeting room through the portal. A meeting room is a virtual meeting space that participants call into. These meeting rooms persist until they are deleted, so they can be reused. We will also create a container and assign it to the conference endpoint. This container will store any recordings made during meetings.
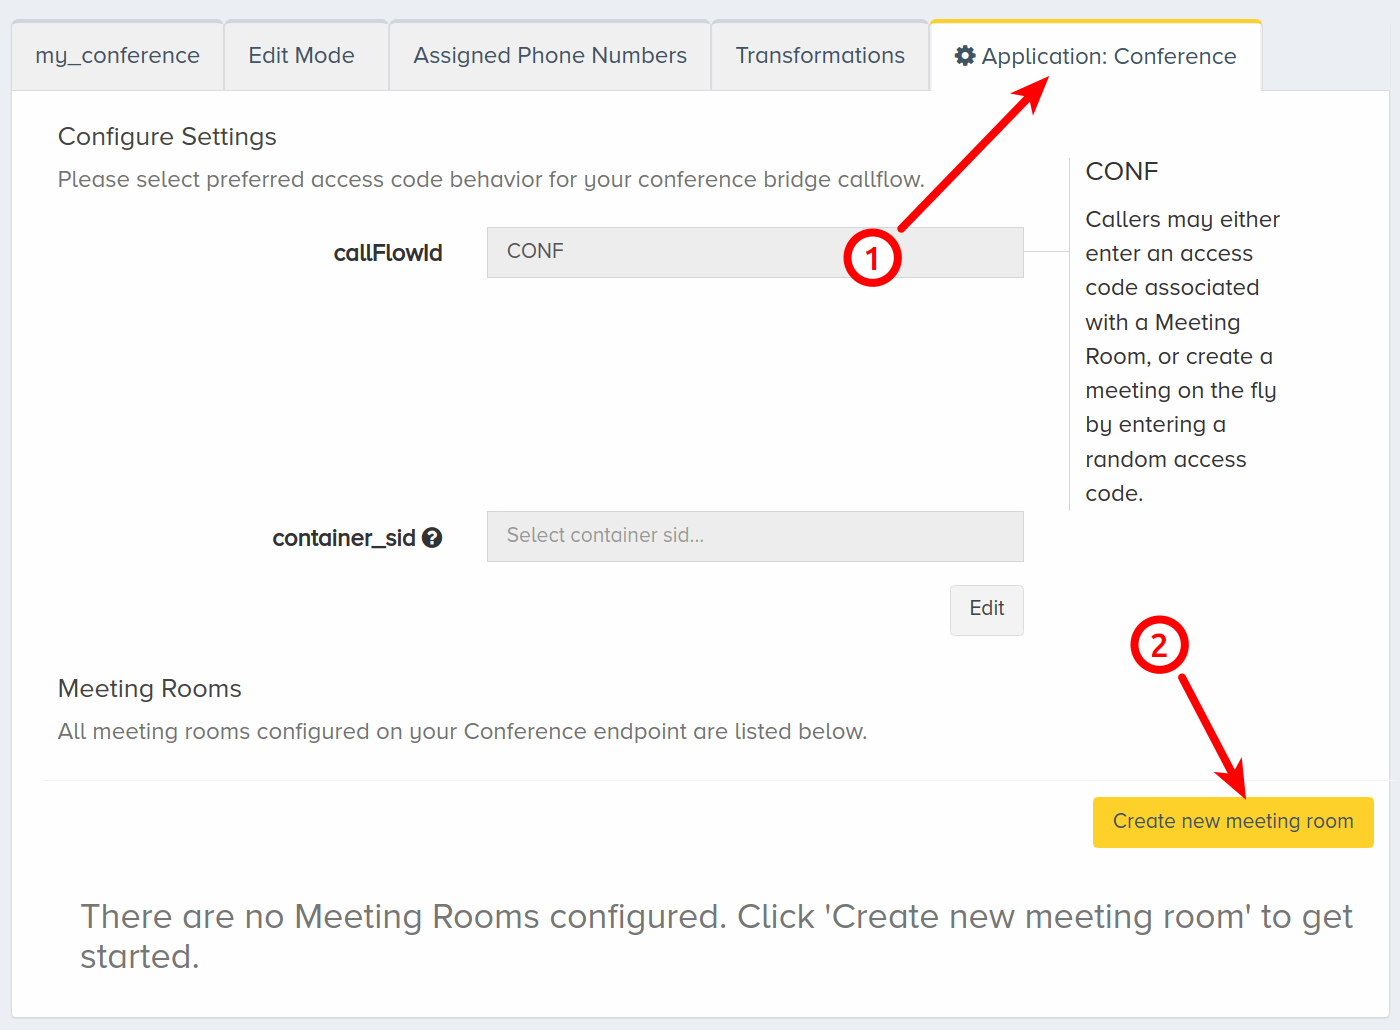
Navigate to the Configure menu and click Endpoints. Select the endpoint you want to configure a meeting room for. Click the Application: Conference tab. Then click Create new meeting room.
A Create New Meeting Room modal will pop up. Enter a friendly meeting room name.
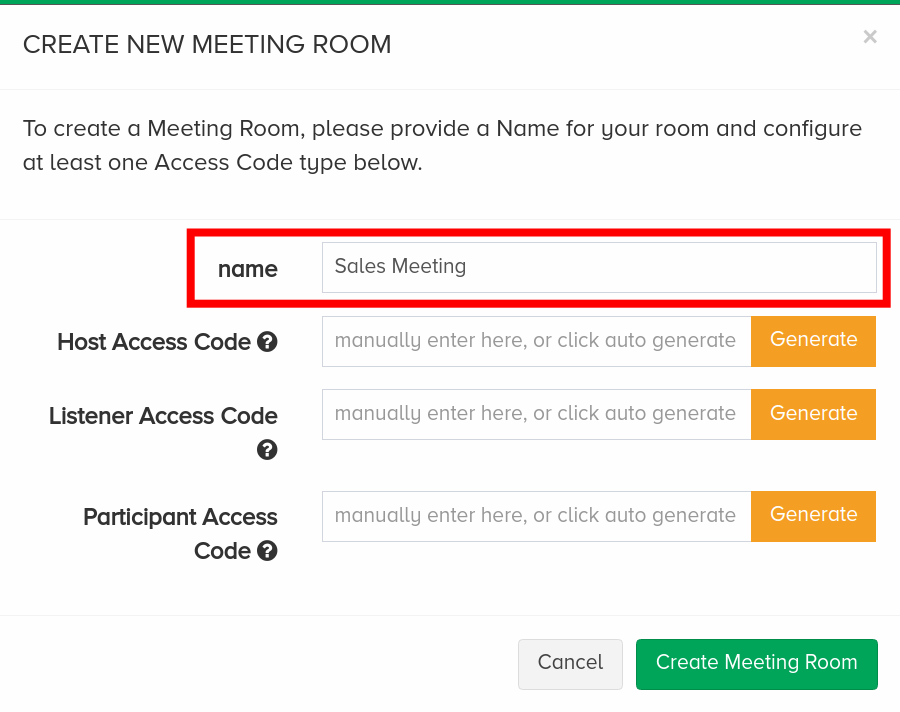
There are three different access levels: host, participant, and listener. A host has full control over the meeting, a participant is able to listen and speak, and a listener is able to only listen. At least one access code must be set, either by typing in custom integers or clicking Generate.
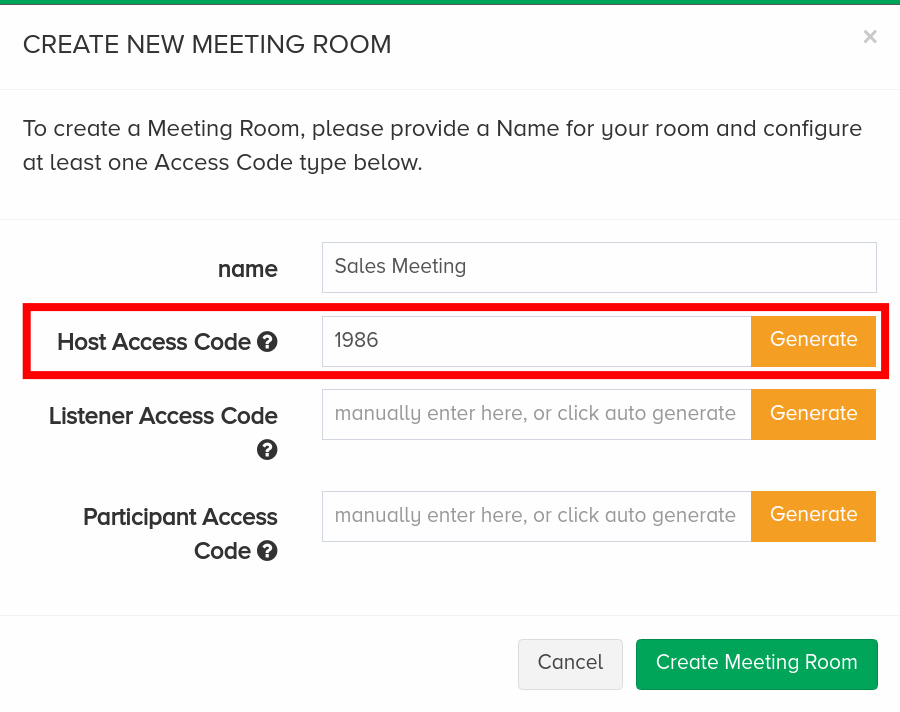
In this example, we entered a custom access code for the host.
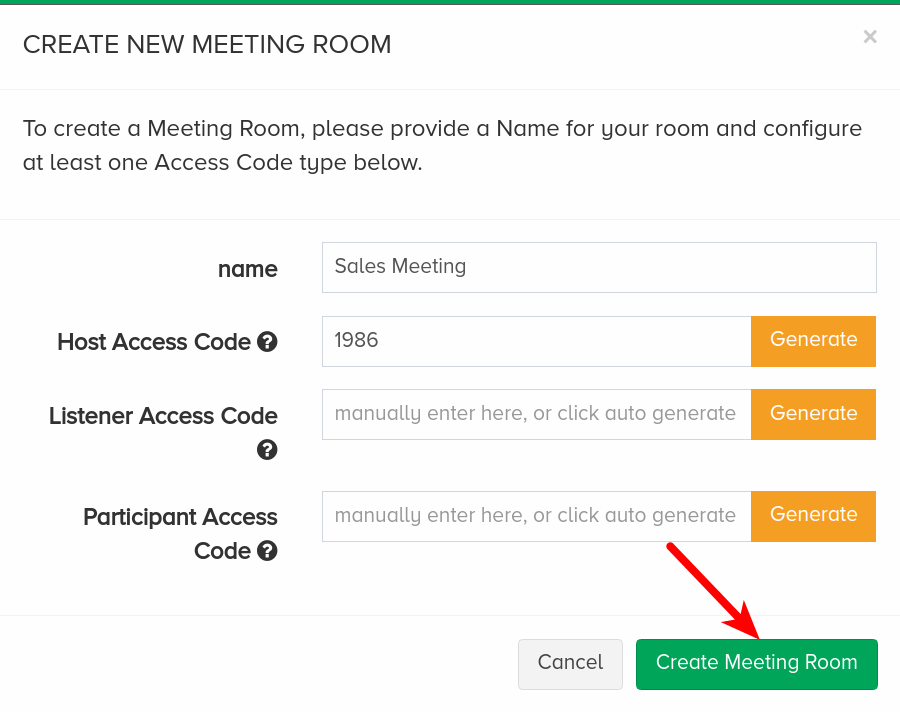
When you are finished entering or generating the desired access codes, click Create Meeting Room.
Once the meeting room has been created, it will be listed under Meeting Rooms. Multiple meeting rooms can be created under a single Conference endpoint. Meeting rooms persist until they are deleted.
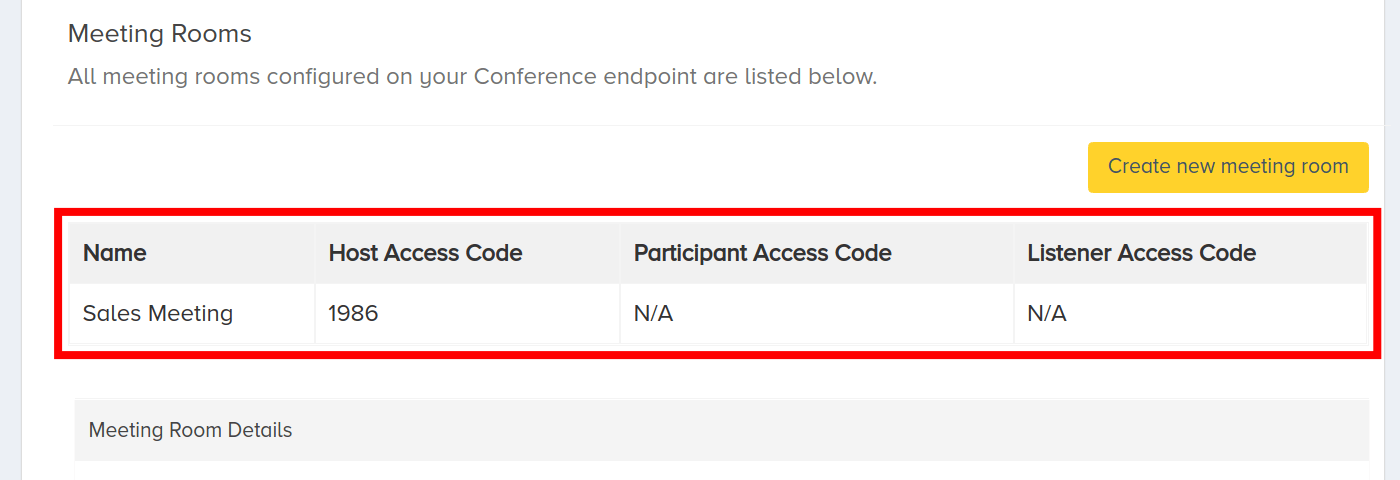
Click a meeting room to see its details.
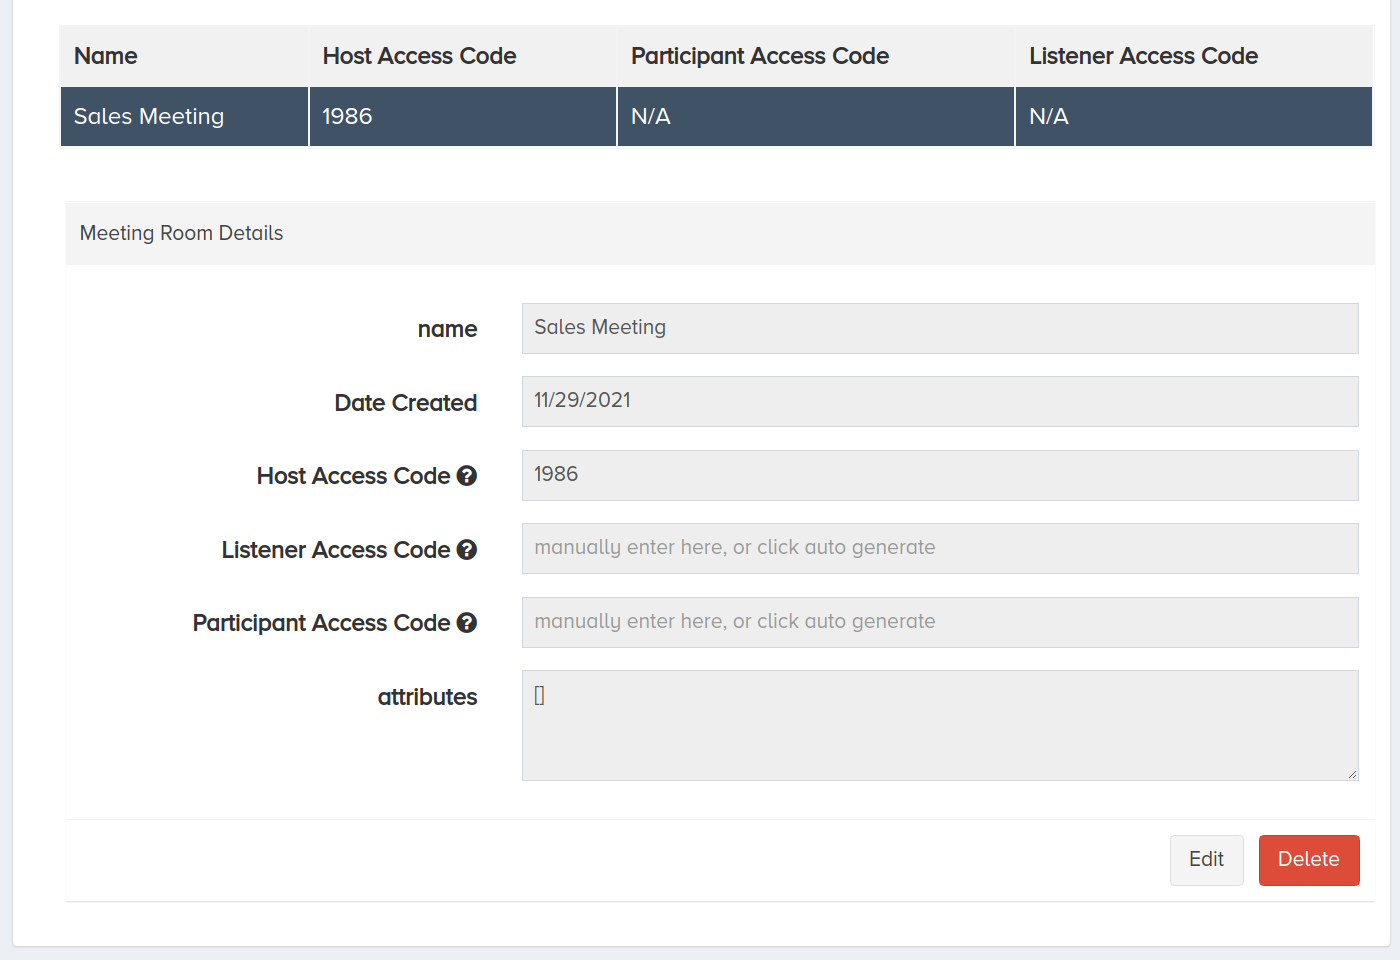
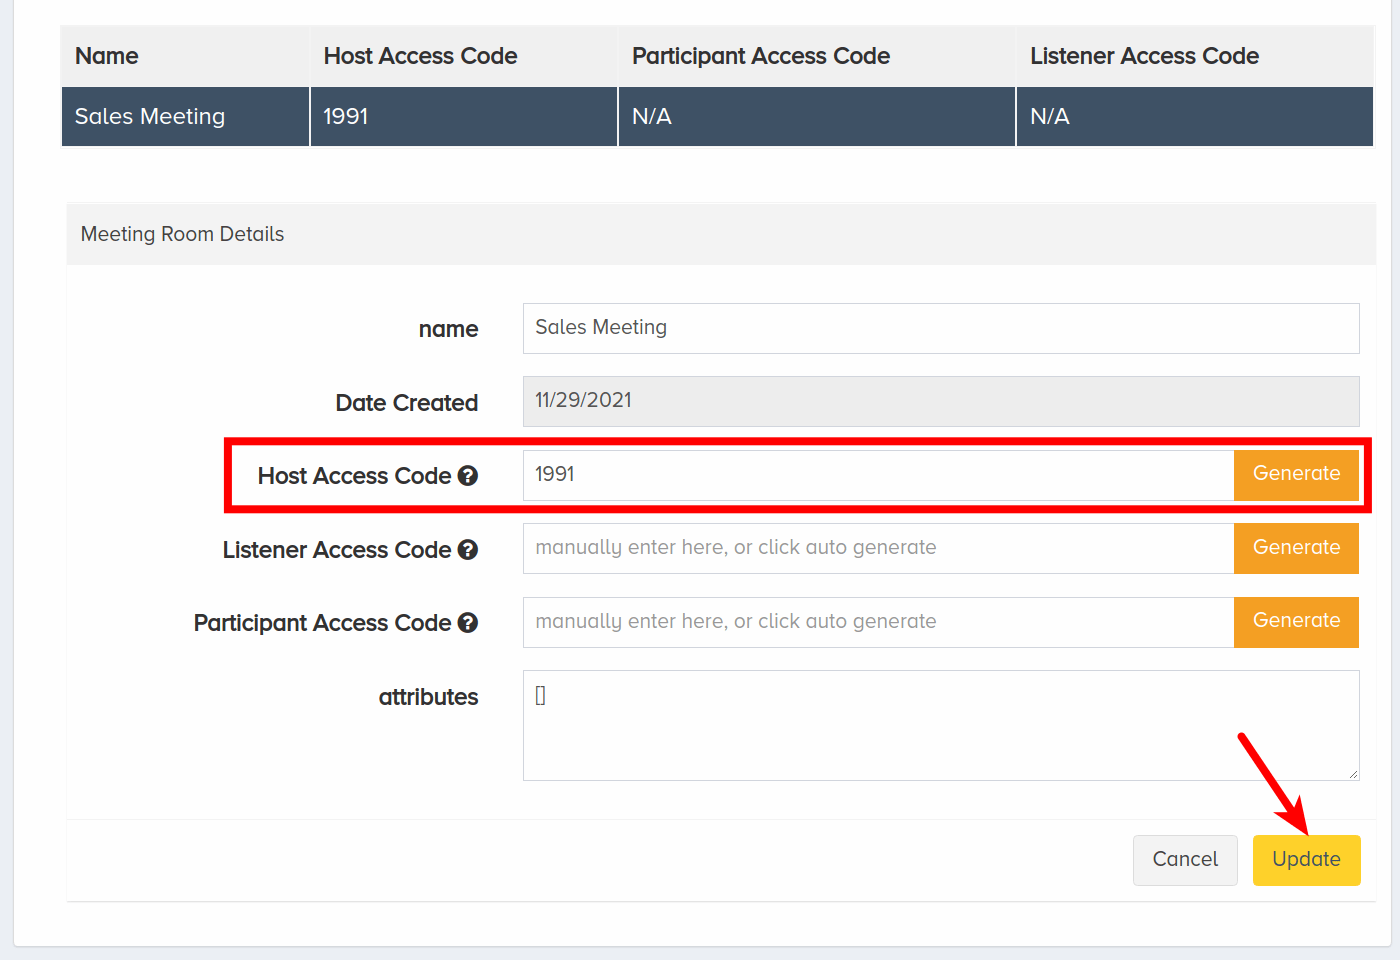
Click Edit to modify the meeting room.
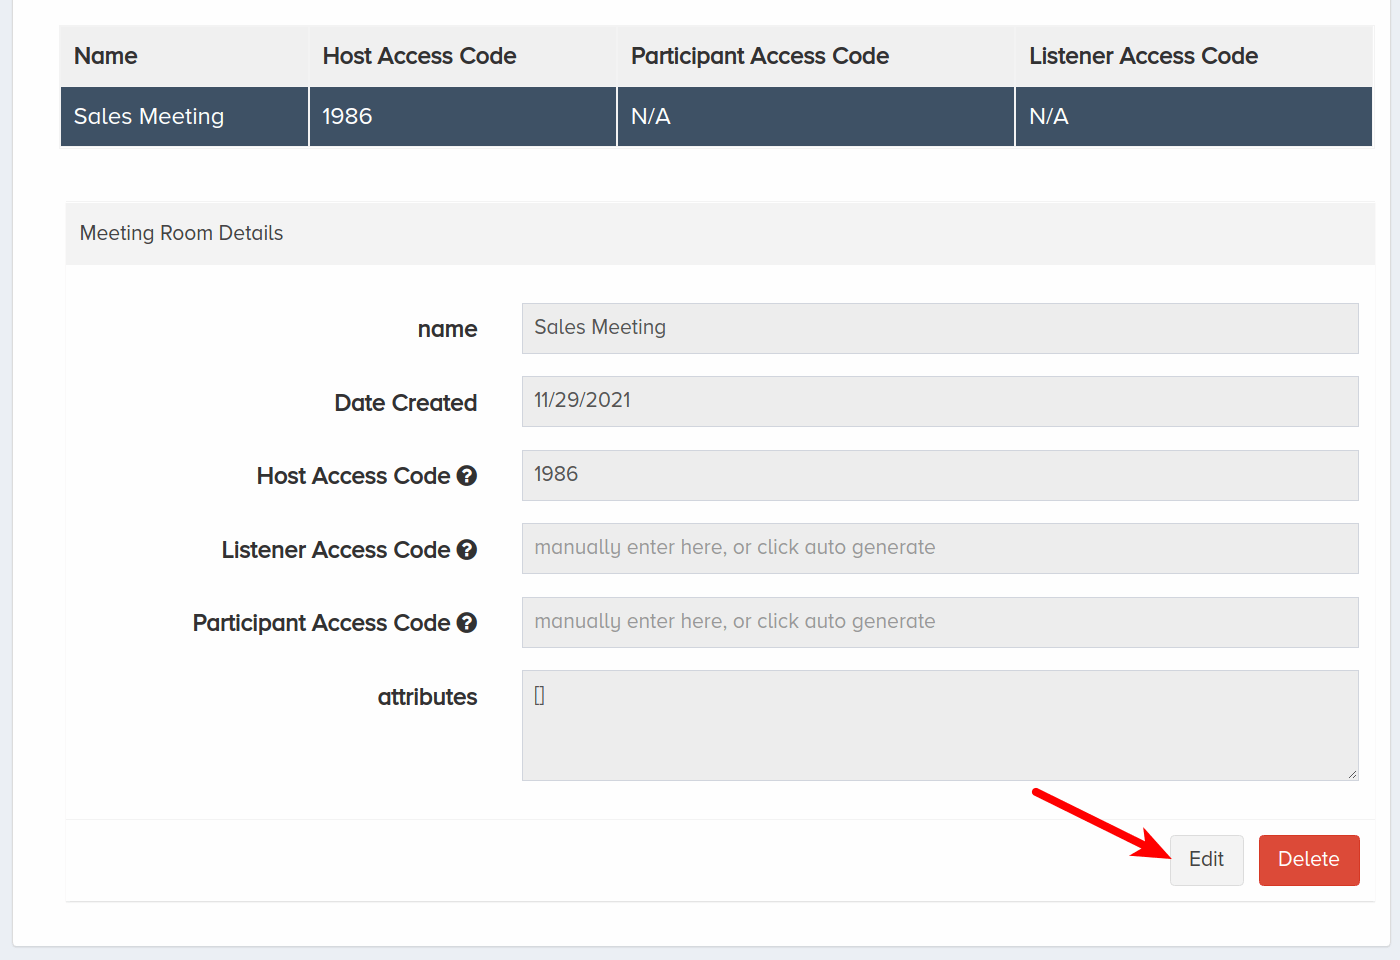
Make your changes and then click Update.
Now that we have created a meeting room, we can test it by calling into the meeting room. Where you are, click the Assigned Phone Numbers tab beside the Application: Conference tab. This is the phone number to dial. Call it and type in an access code for the meeting room when prompted.
Meeting rooms can also be created and configured programmatically. Refer to the Create Meeting Room section in the Conference API Reference for more information.
IV. Set Up Container
To use the recording features of the bridge, it is necessary to assign a container to the endpoint. In this section, we will create a container and add it to the Conference endpoint. This container will be used for all of the meeting rooms and will store files of any recordings taken during meetings.
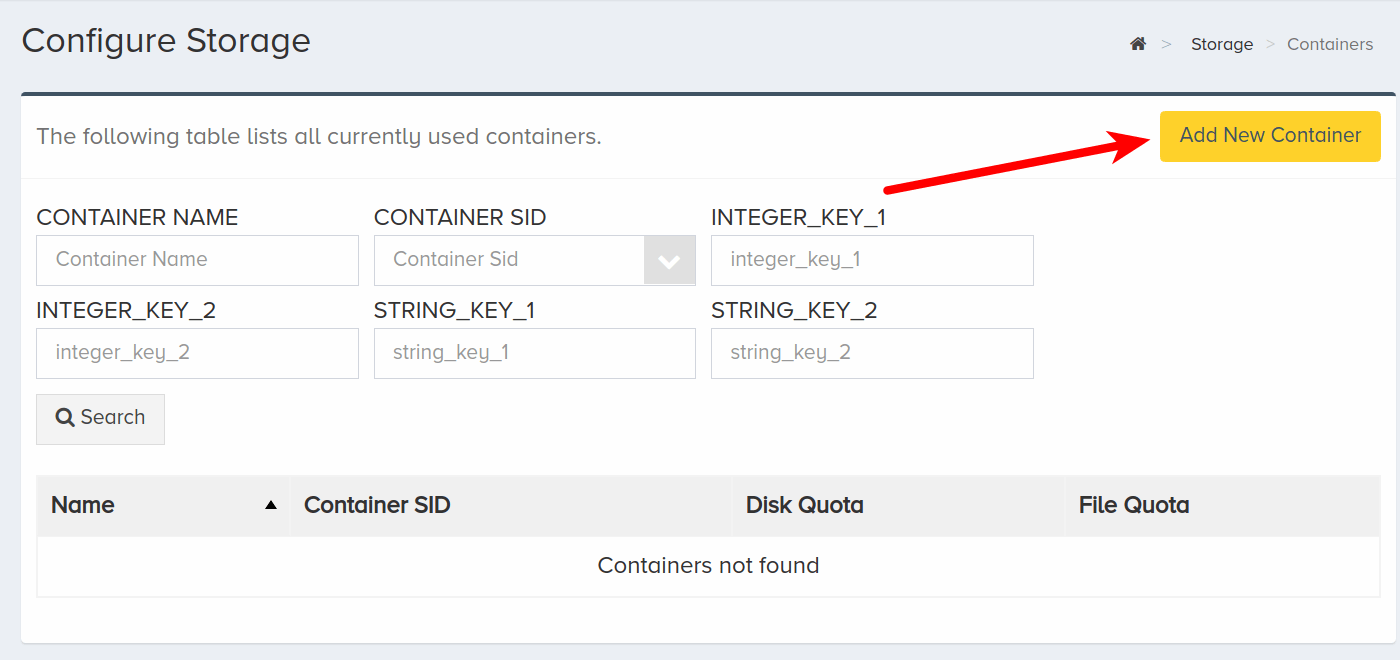
On the left-side menu, locate and click the Storage menu. Click Containers.

Click Add New Container.
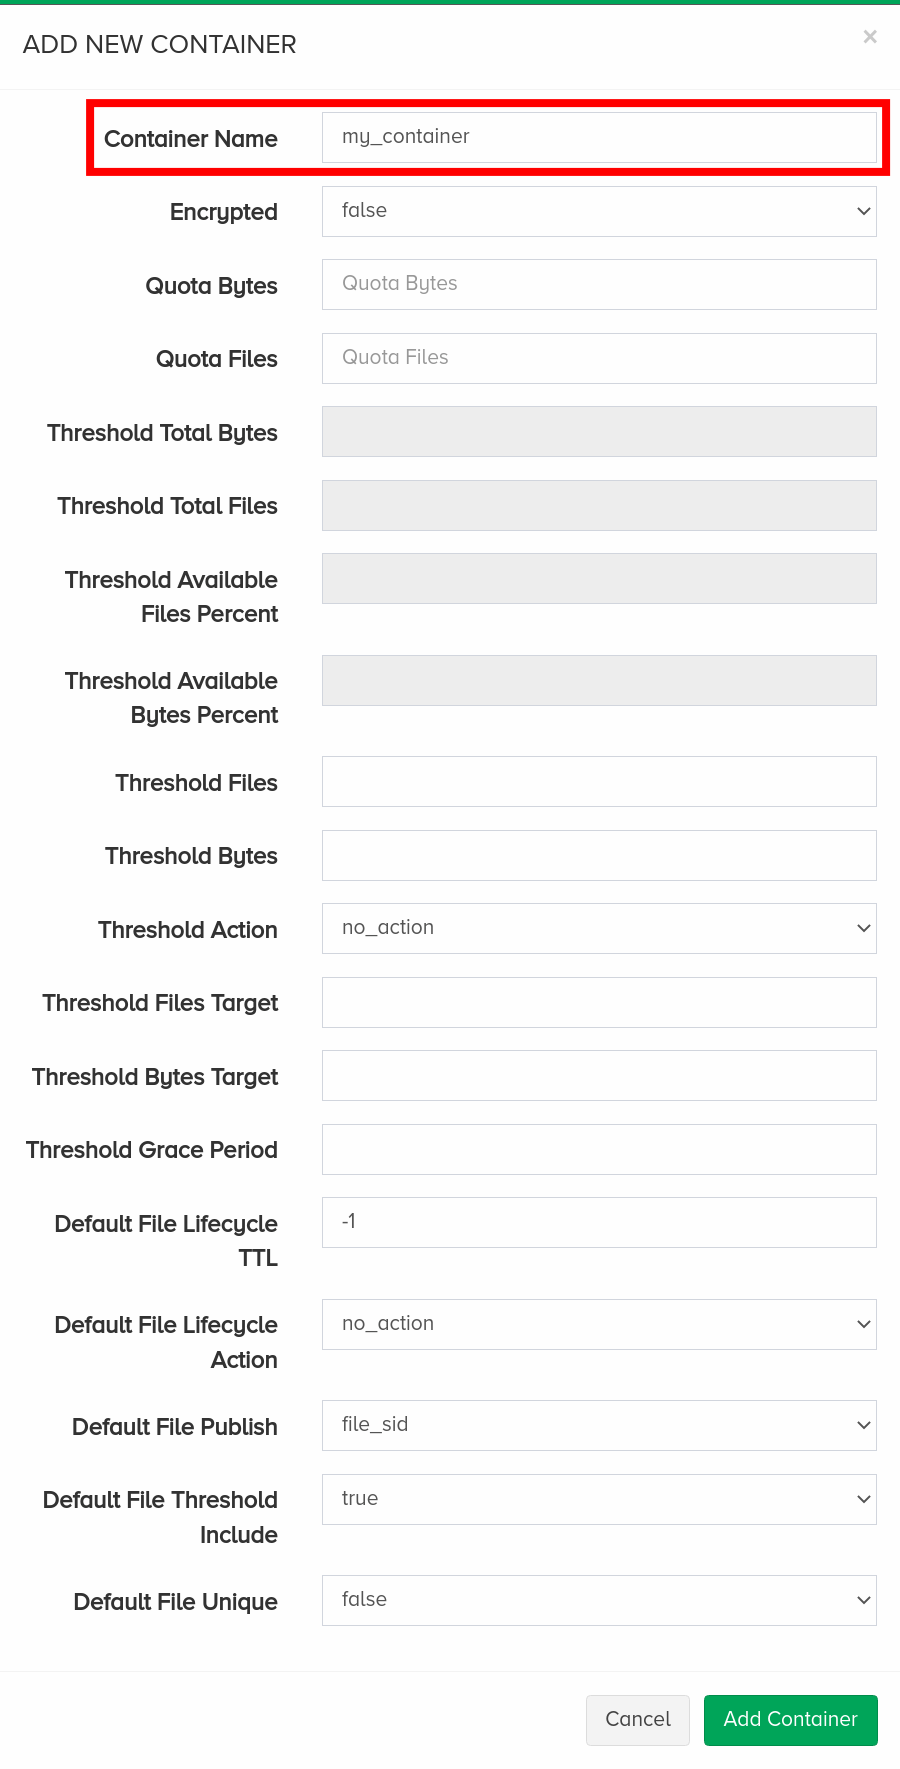
An Add New Container modal will pop up. Enter a friendly container name.
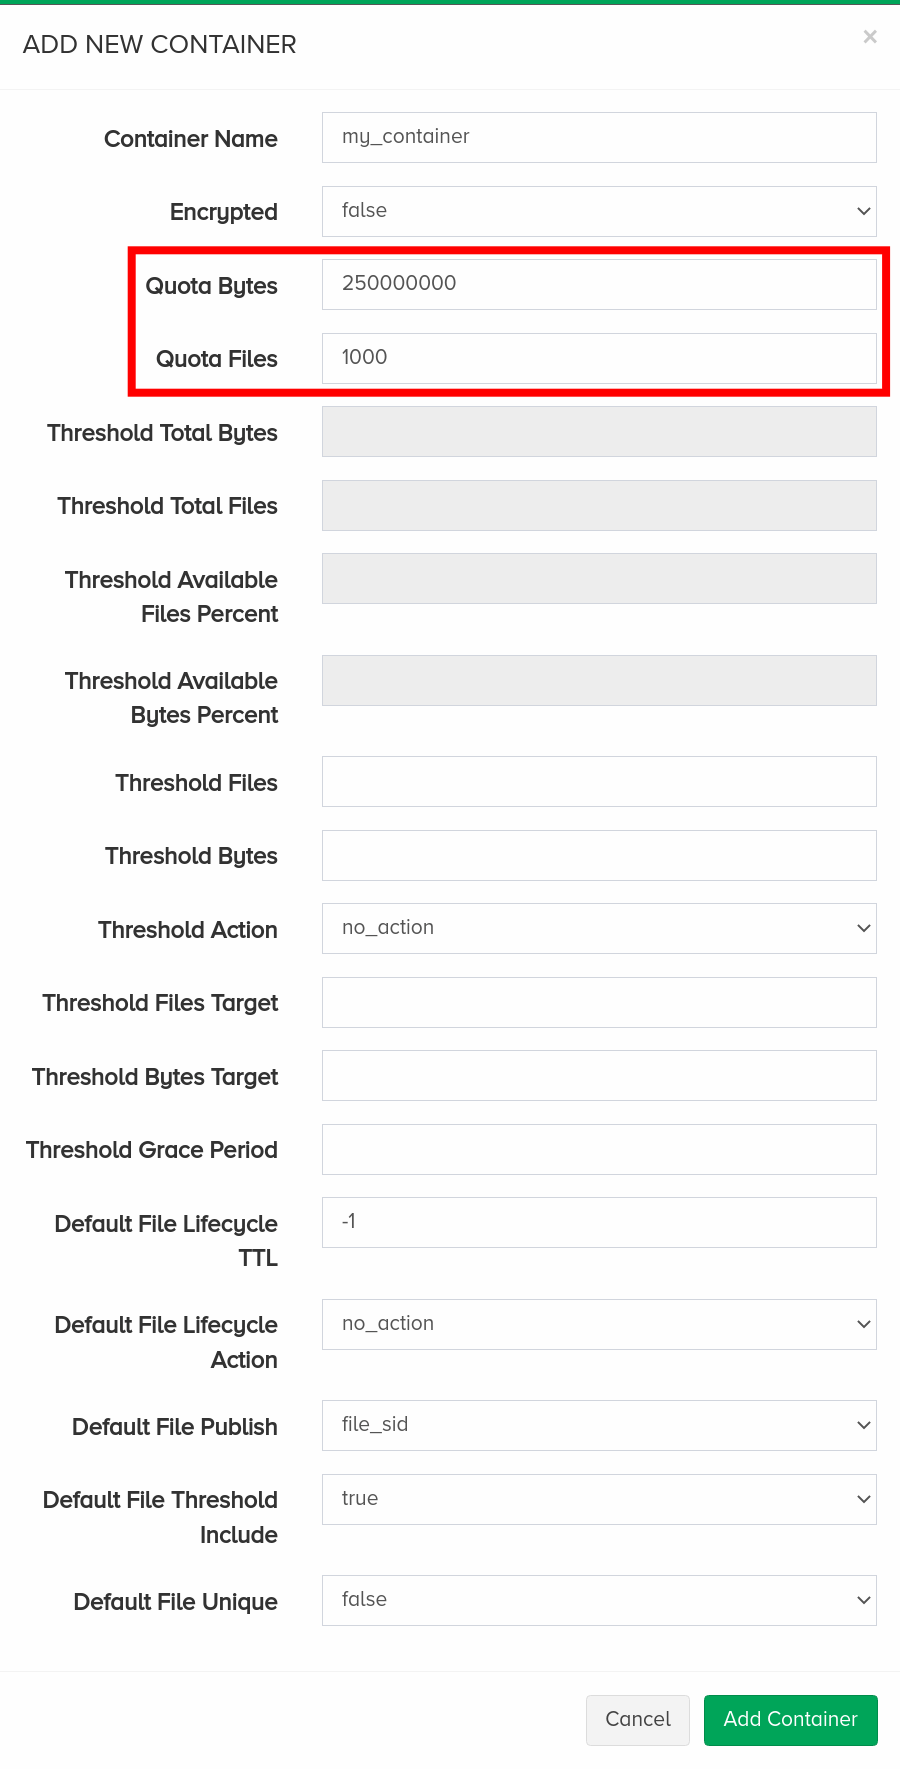
Enter integer values for both Quota Bytes and Quota Files.
Note that the quota sizes should be large enough to accomodate the size and amount of files that you require.
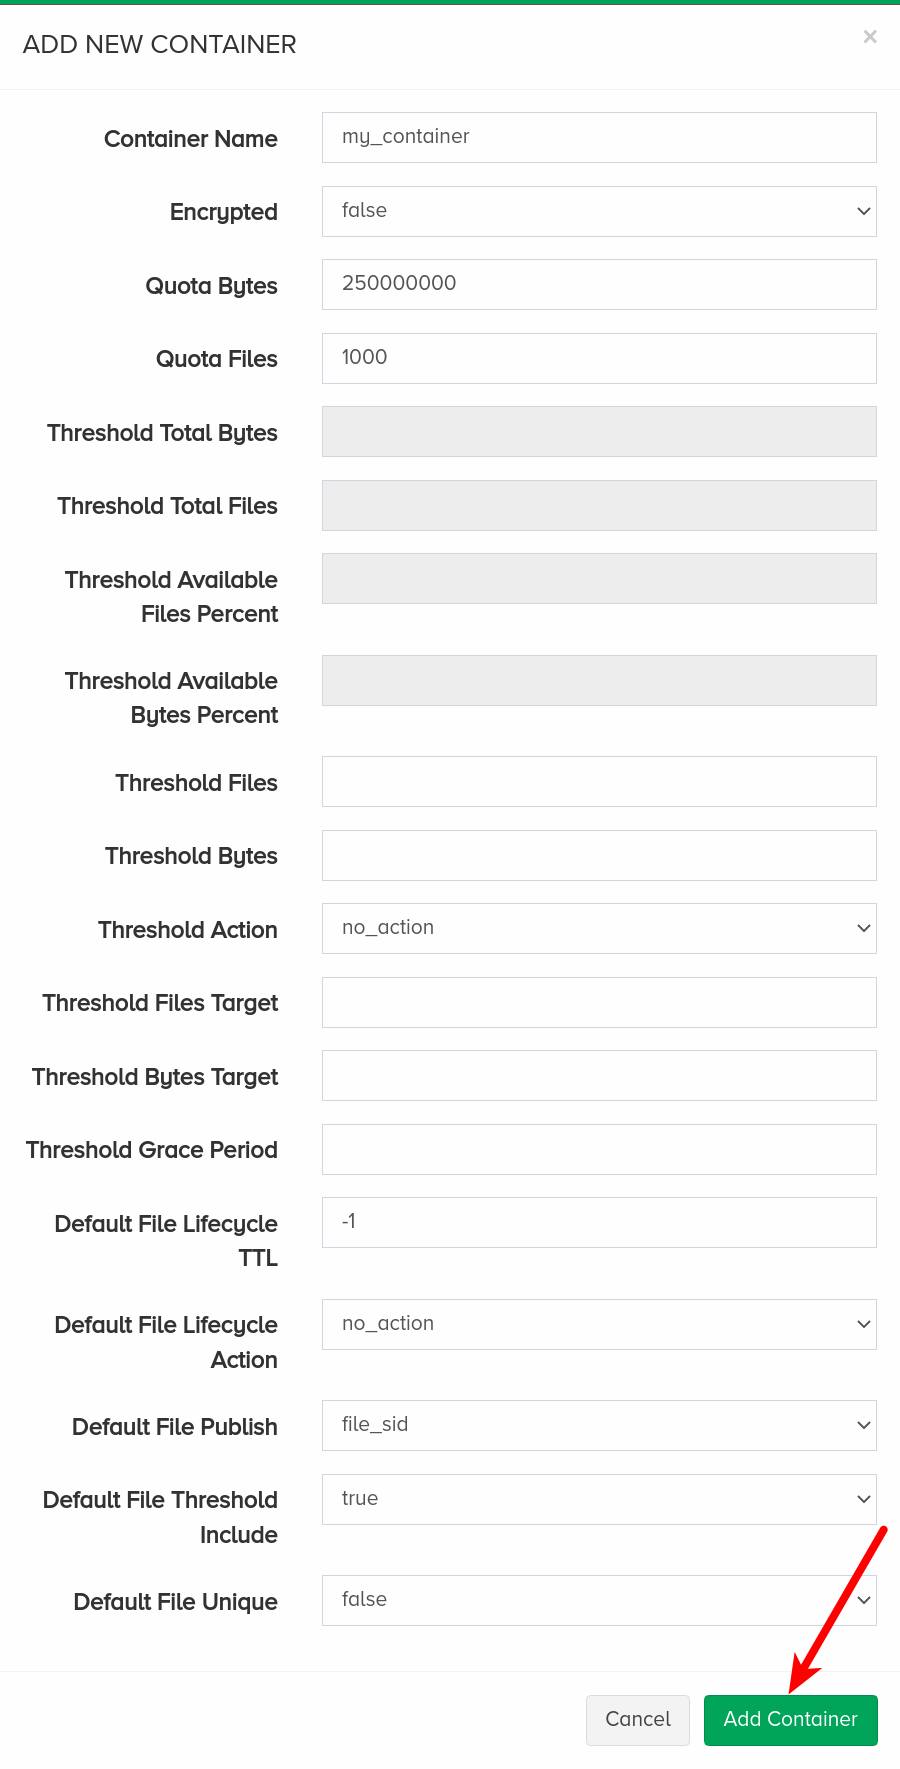
When finished, click Add Container.
Navigate to the Configure menu and click Endpoints.
Click the newly created conference endpoint and scroll down. Click Application: Conference tab. Then click Edit.
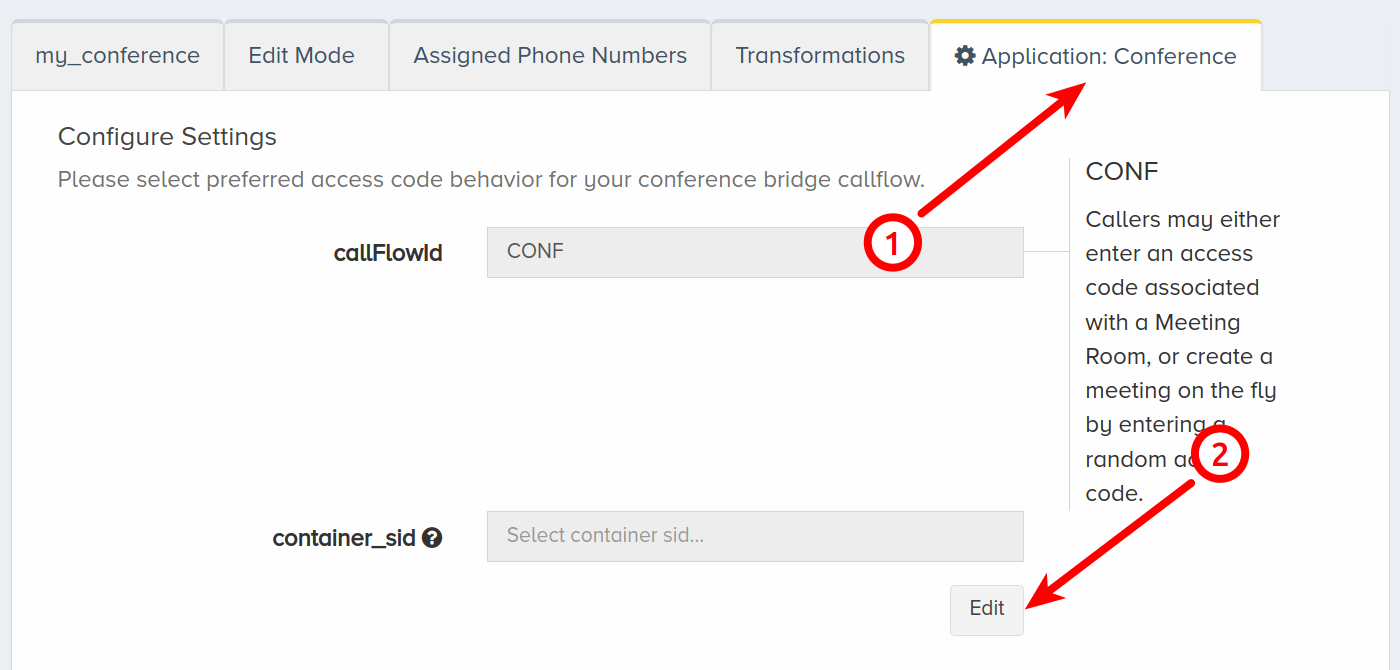
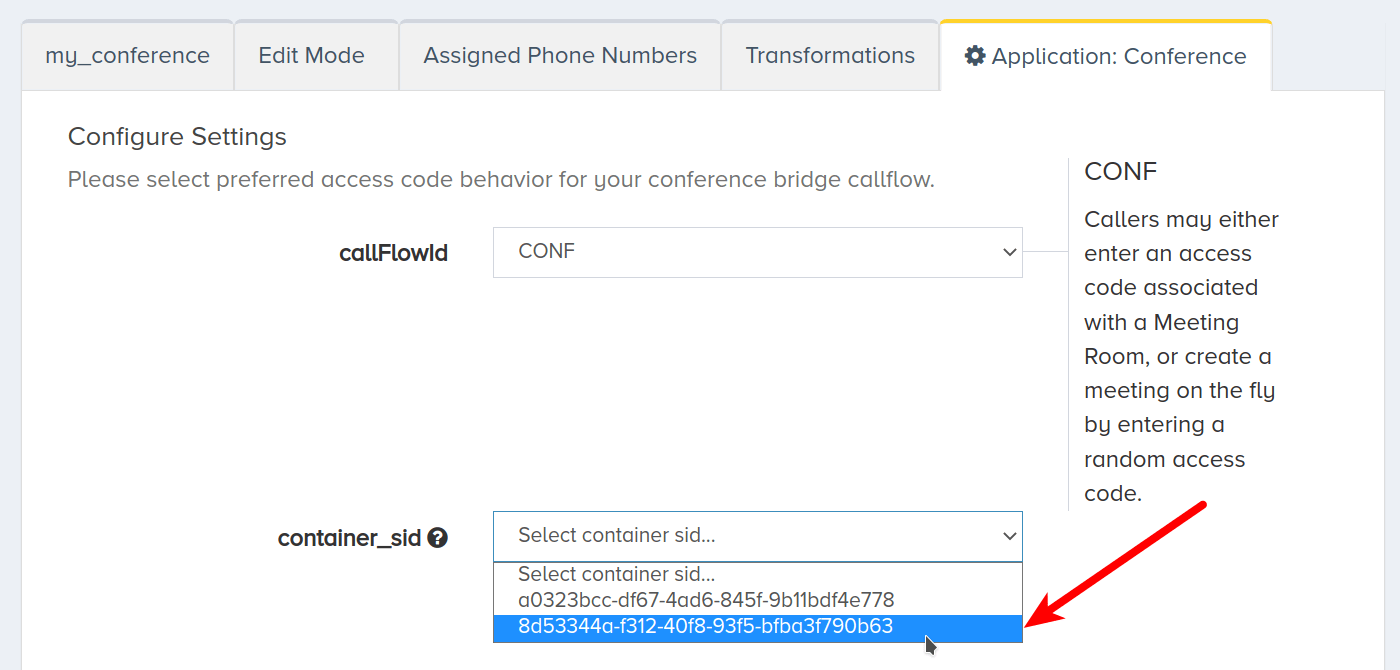
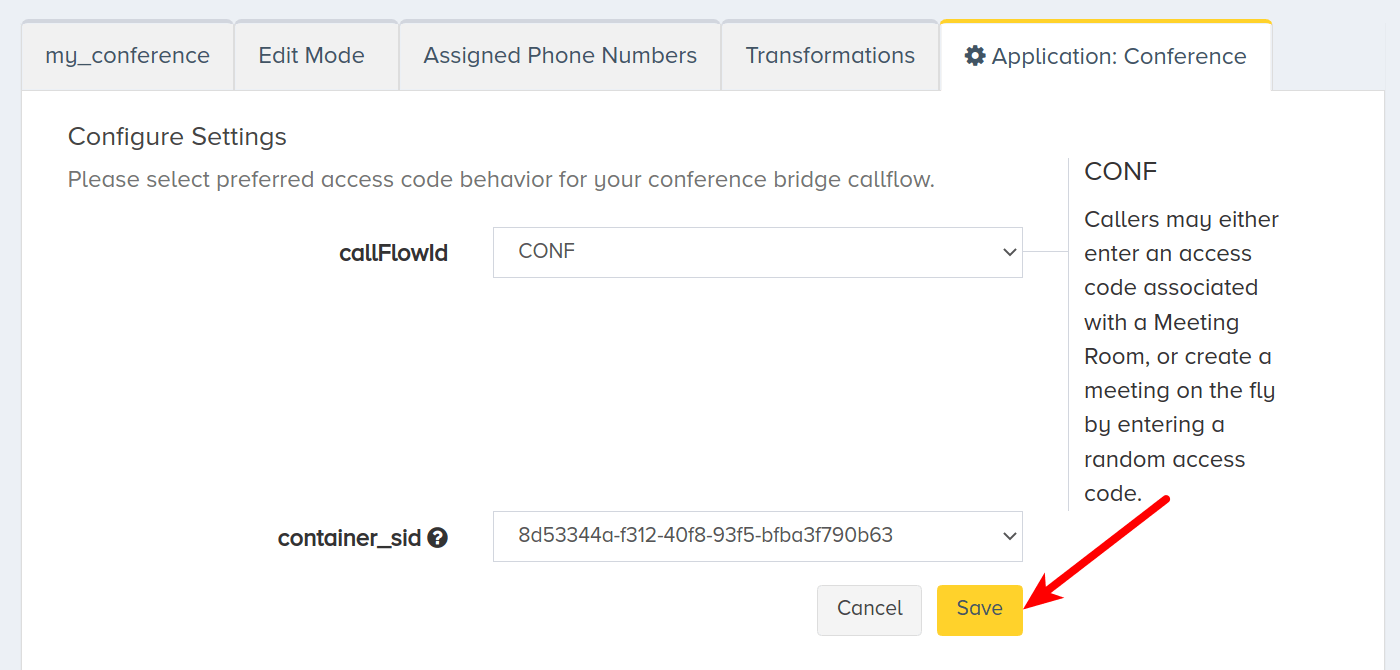
Select the newly created container from the container_sid dropdown menu.
Click Save.
Now that we have assigned a container to the endpoint we are working with, we can test to see if files will properly be saved. Start by calling into the meeting room we made earlier. Enter your access code. Once you are in the meeting, press *9 followed by 1 to confirm that you would like to start recording.
Speak to provide auditory input for the recording for at least several seconds and then hang up. Next, we will access the recording.
V. Access Recordings
In this section, we will access a recording through the portal. It is best to have created a recording at this point by following the steps above.
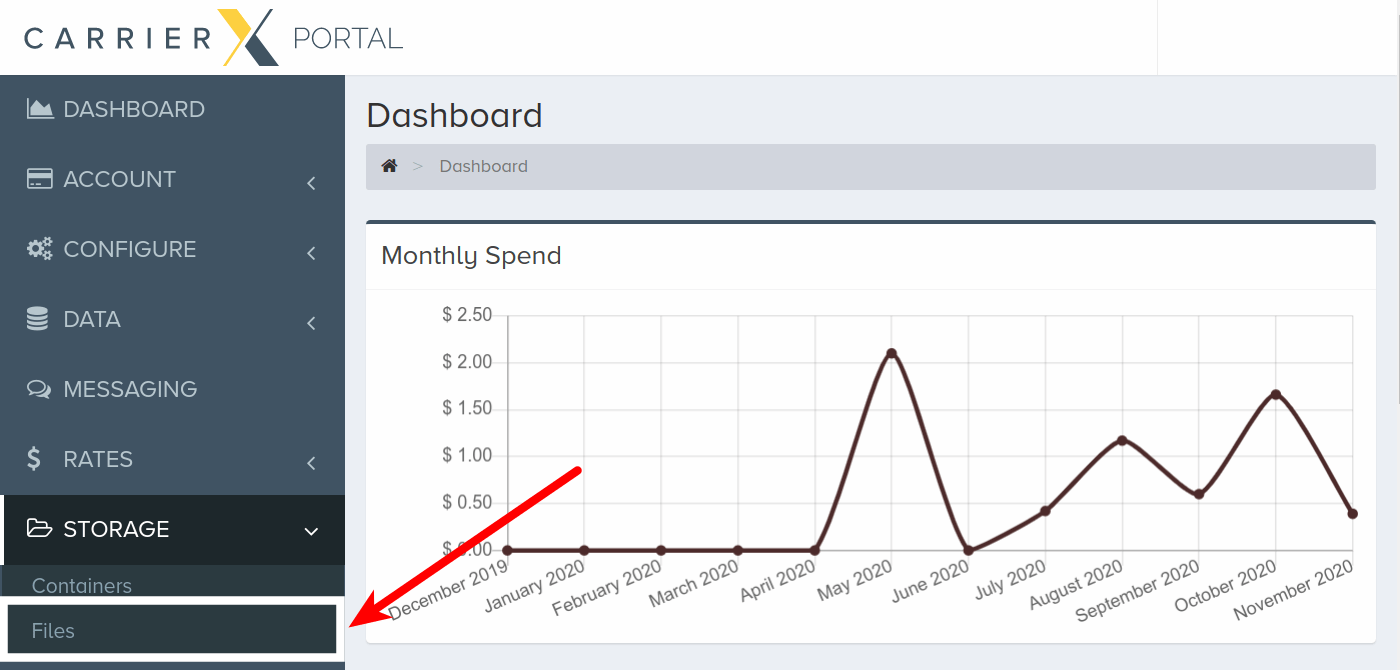
On the left-side menu, locate and click the Storage menu. Click Files.
If your container was properly configured, your meeting recording will show up on the list of files.
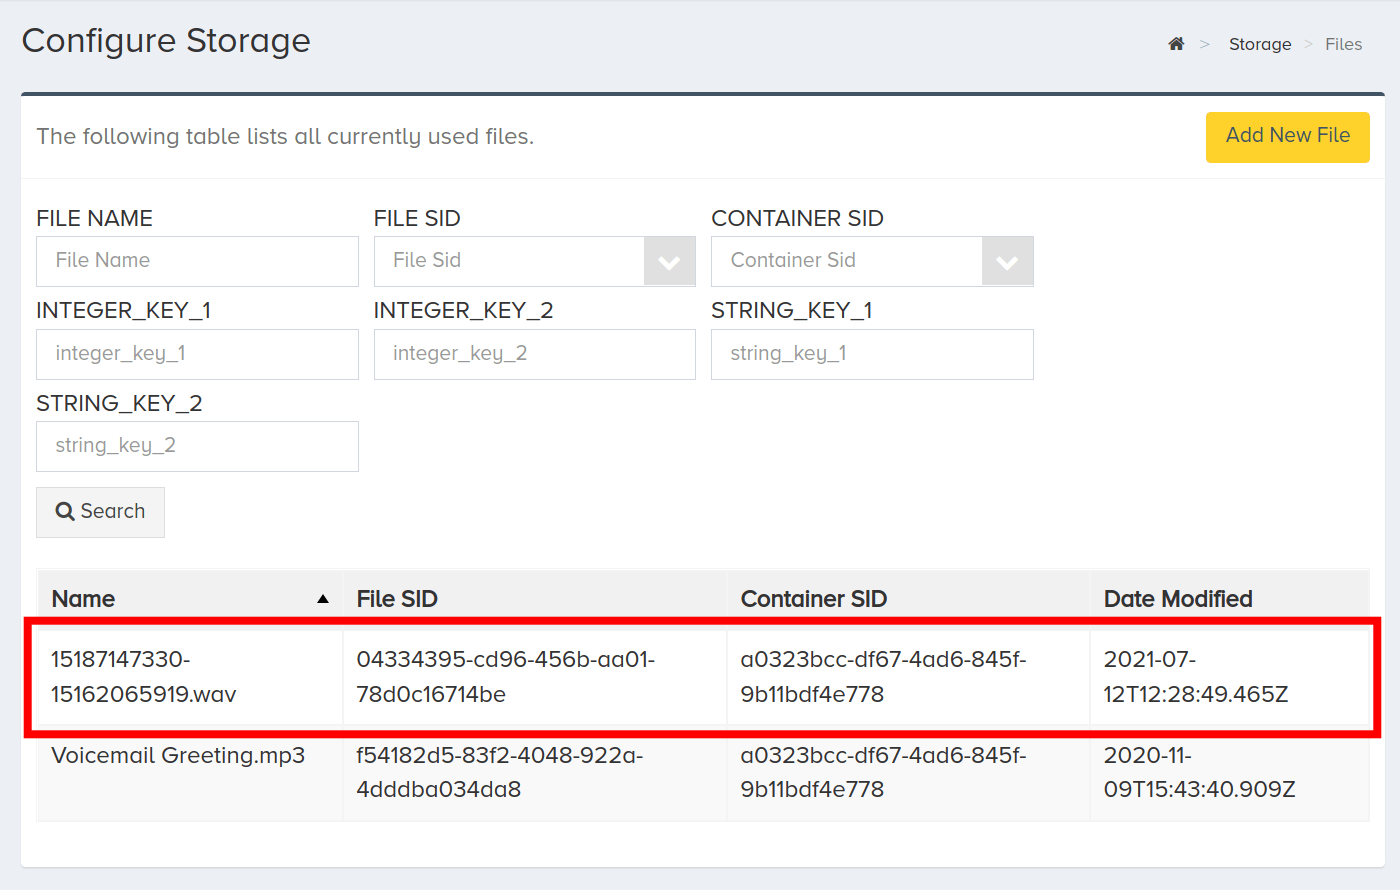
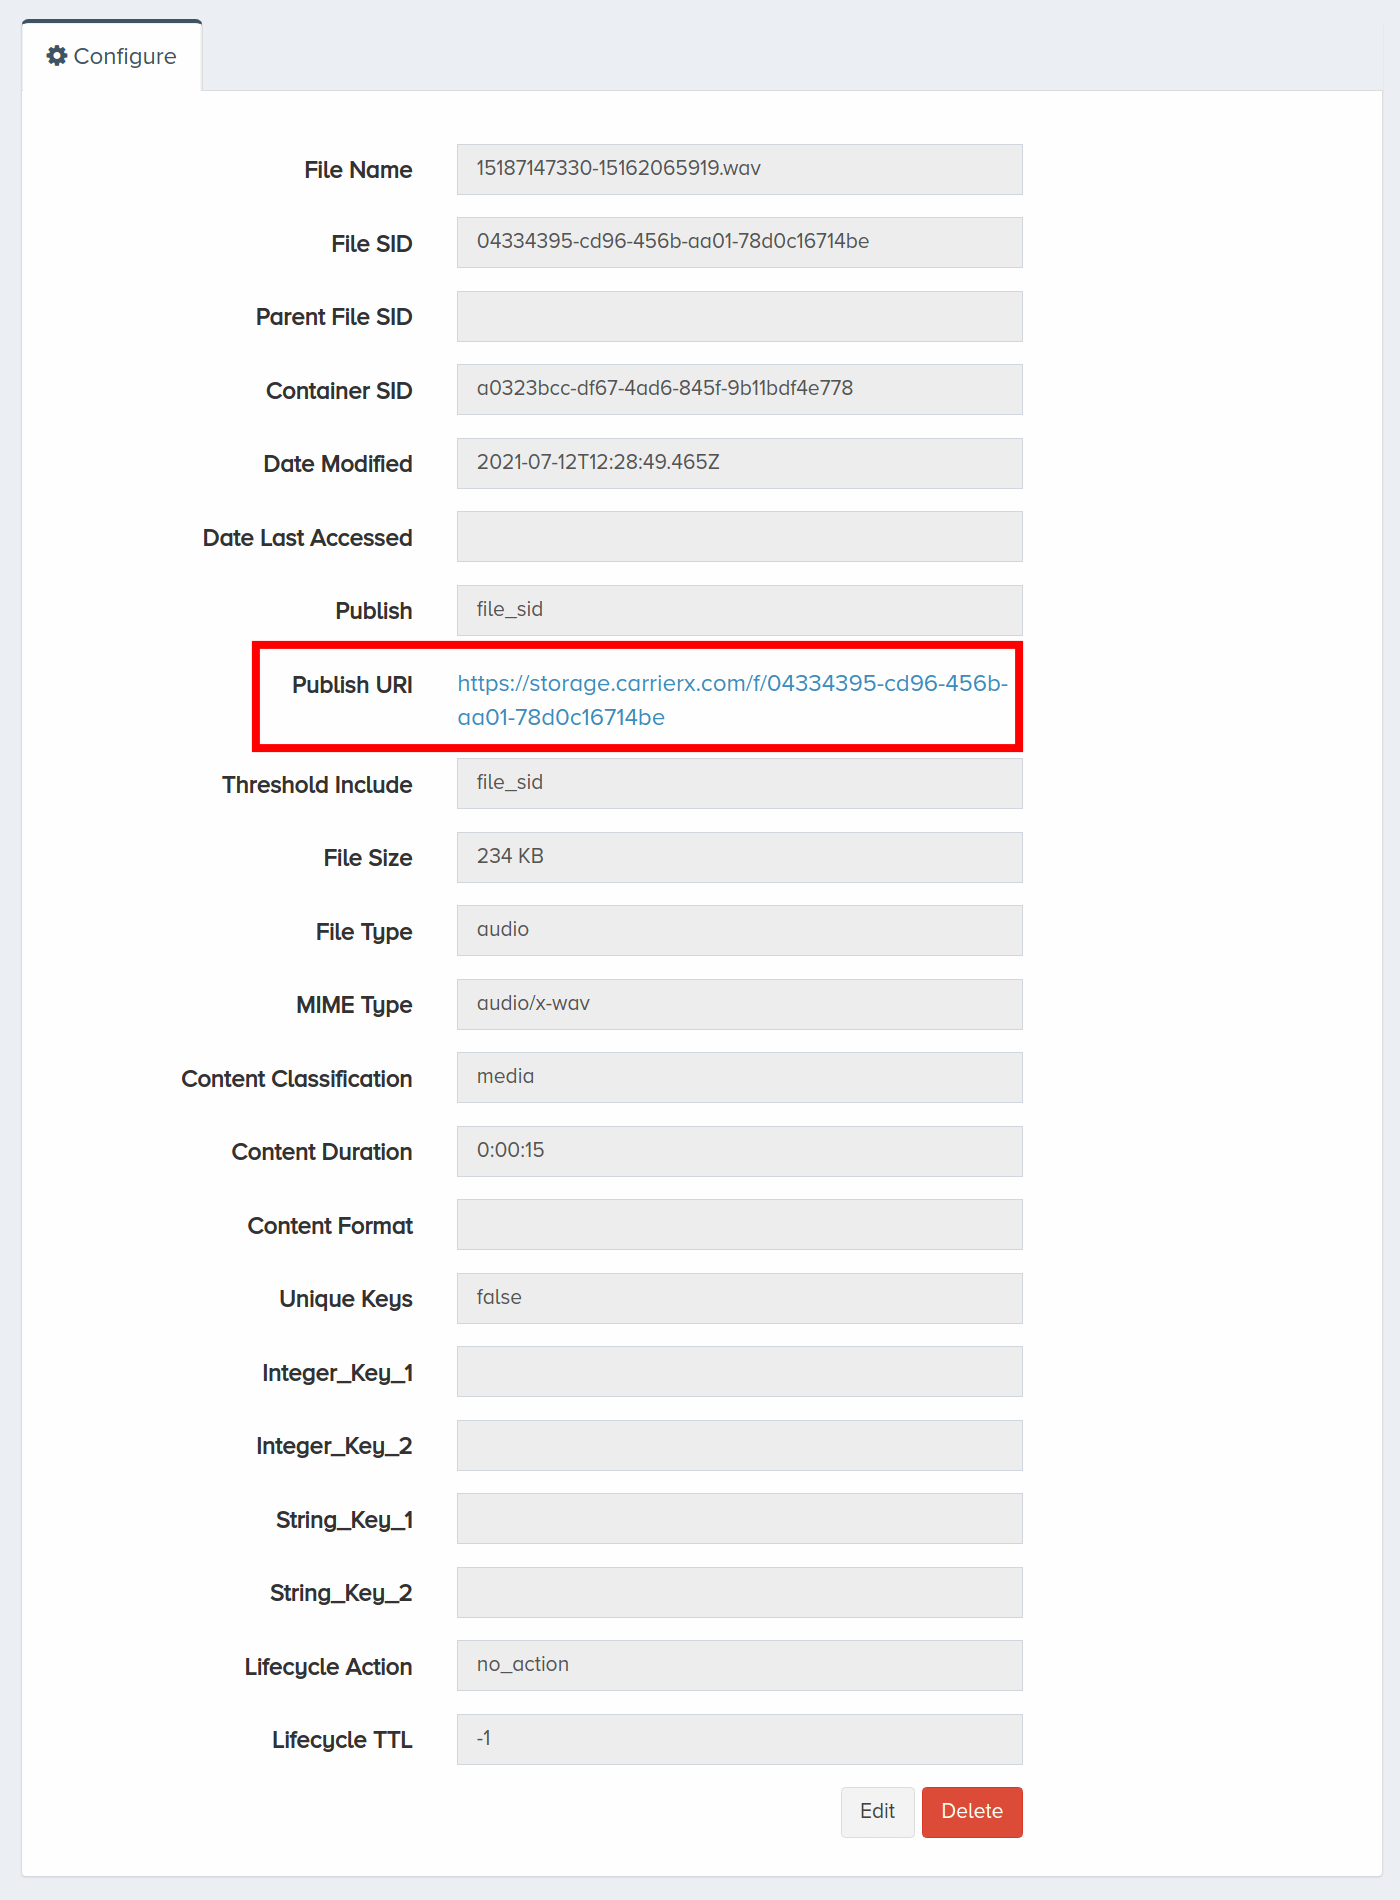
Click a file to view details. To listen to the recording online, click Publish URI.
Alternatively, refer to the Conference Playback quick start guide to configure a DID that can be called to listen to conference recordings.
VI. Next Steps
You have configured a Conference v1 endpoint! Now you can associate a phone number with this endpoint. Refer to the Configure Application Endpoint quick start guide to do this.
For more information, refer to the Conference v1 API Reference.
Please note that CarrierX discontinued the support for Conference endpoint API as it is in the process of being replaced with the new one.
Refer to the new Conference v2 API documentation for the most up-to-date information.
Contact CarrierX support at support@carrierx.com if you need help with migration from the Conference v1 API to the current Conference v2 API.